What Did You Do With Your Commando Today?

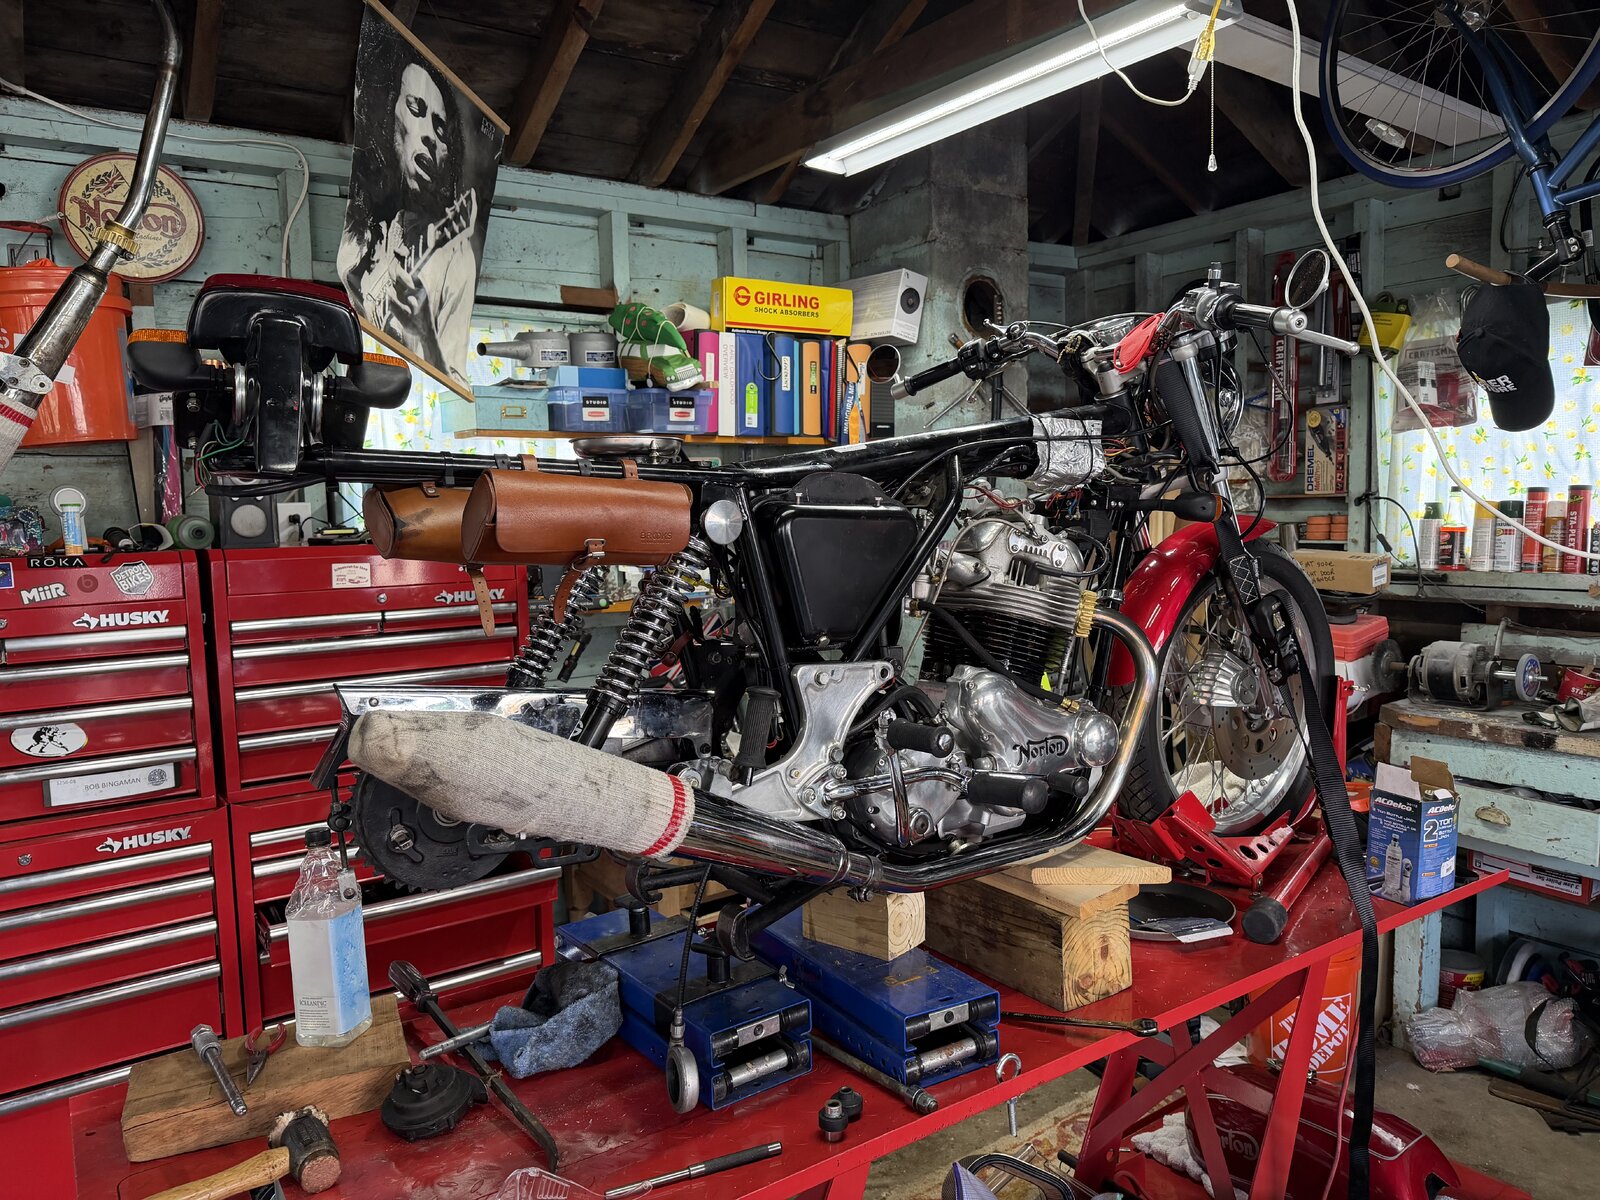
CHanged the isos on a new to me mk2 850 with original candy red paint and less than 9K original miles. However much of the rubber has perished due to what was likely poor storage conditions. Engine runs great though.
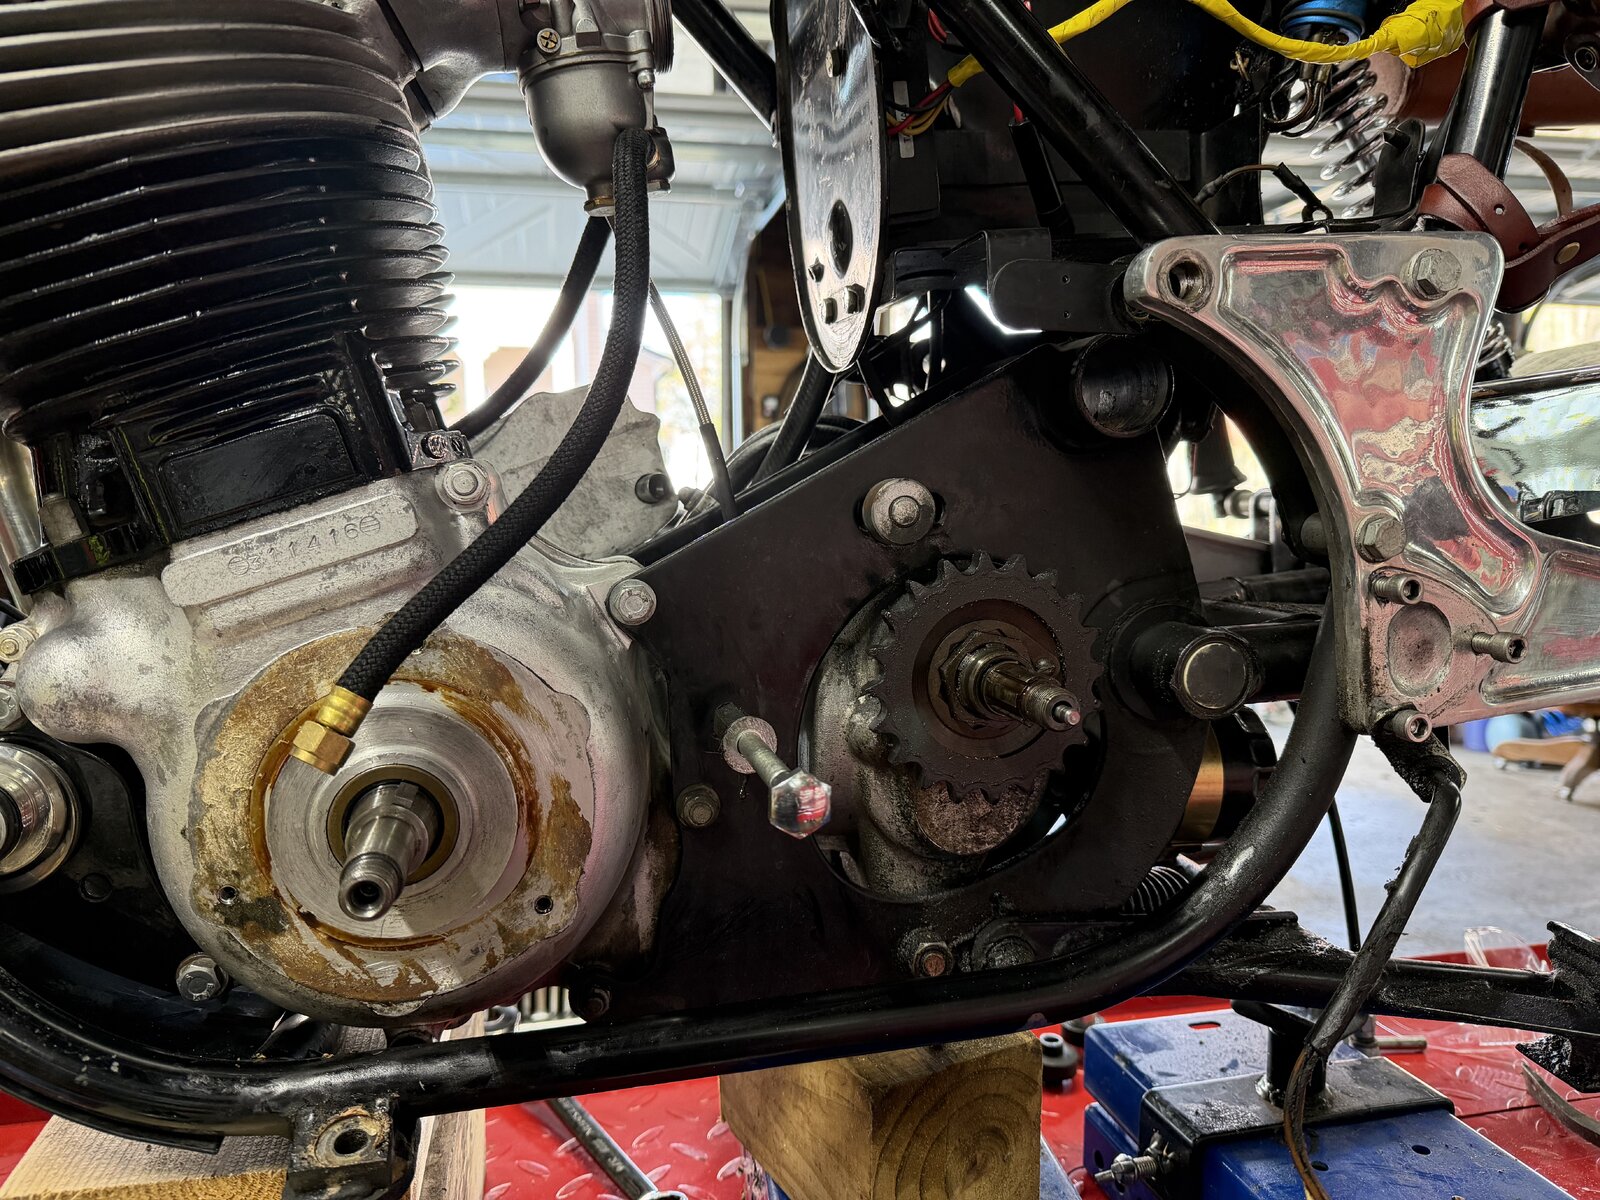
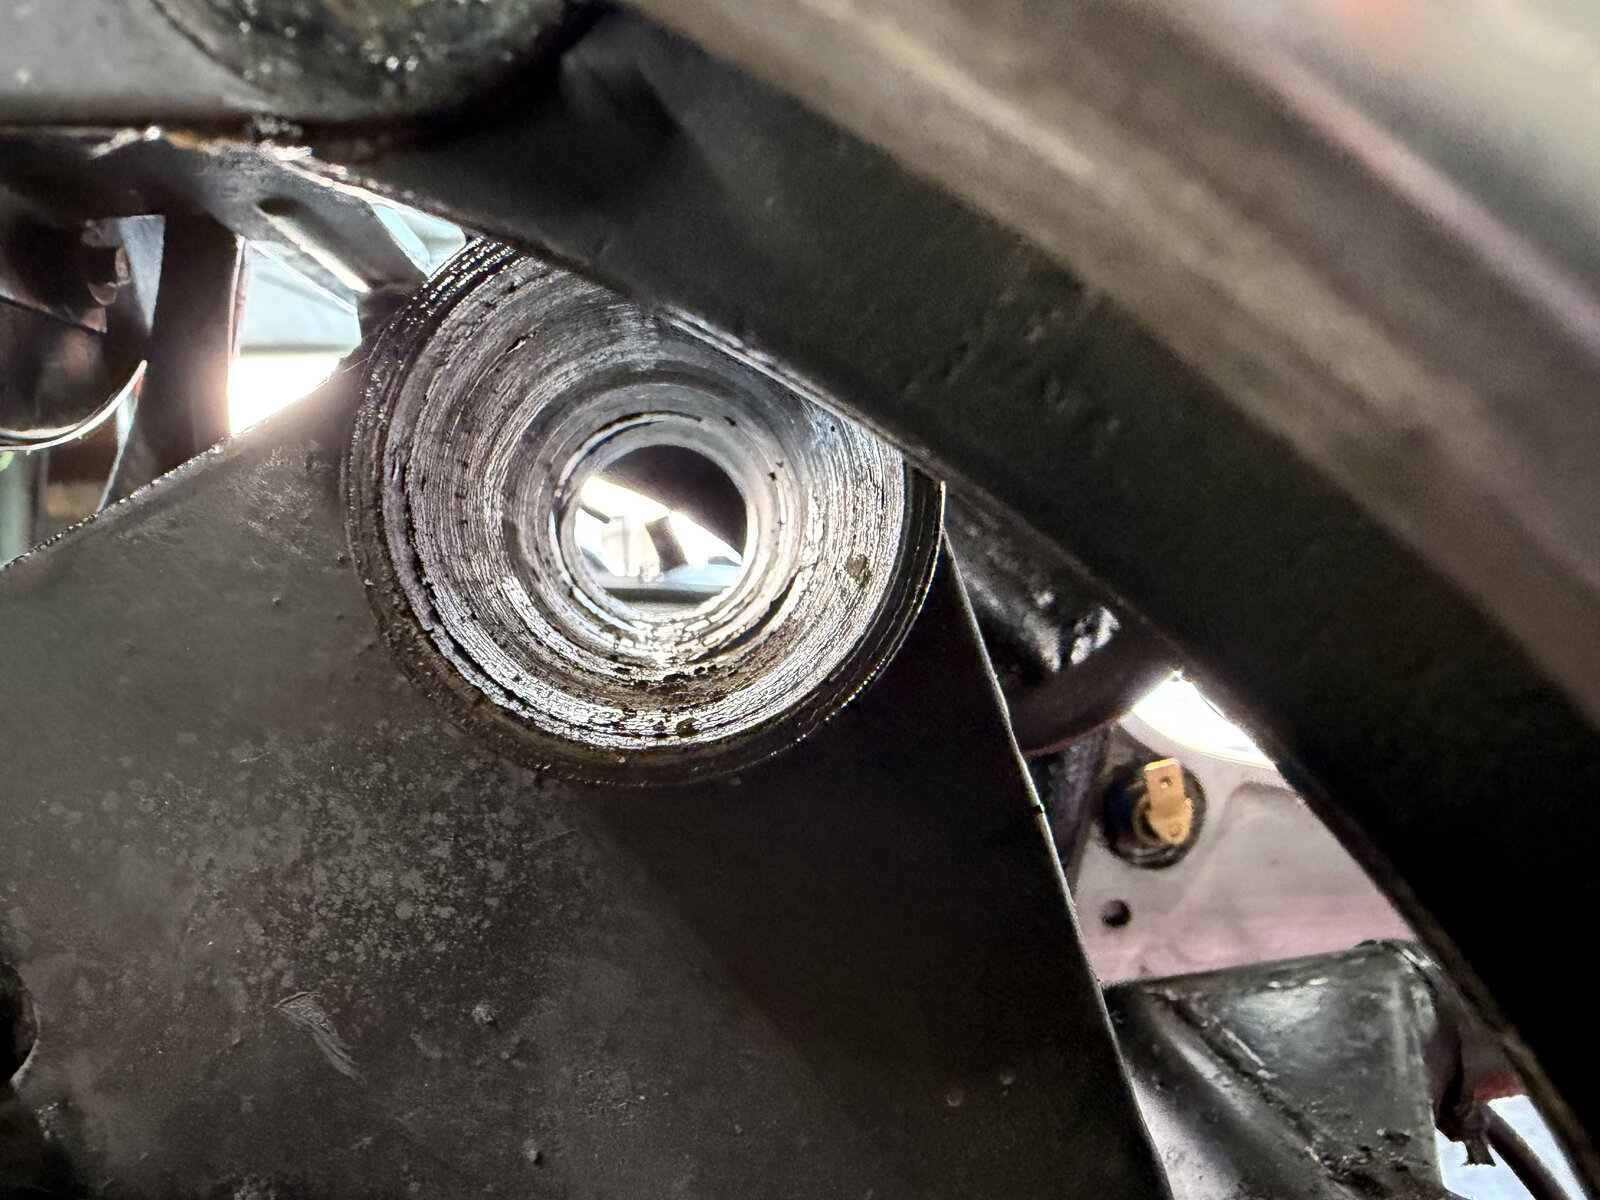
First time I had ever changed isos without cradle out of the frame and I was a little surprised how easy is was. Used original rear iso parts but vernier front iso. Removed rear iso shaft after about 3 weeks of repeated kroil while on side. removed shaft and used engine hoist to raise back of frame, removed front shaft and shifted engine forward a bit and then iso came out relatively easily with fork tube and hammer.
Next problem is the missing rear support for the oil tank. Need to buy some parts. Plan to have this bike running for INOA Norton Blue Ridge Thunder rally. Best to all.
 
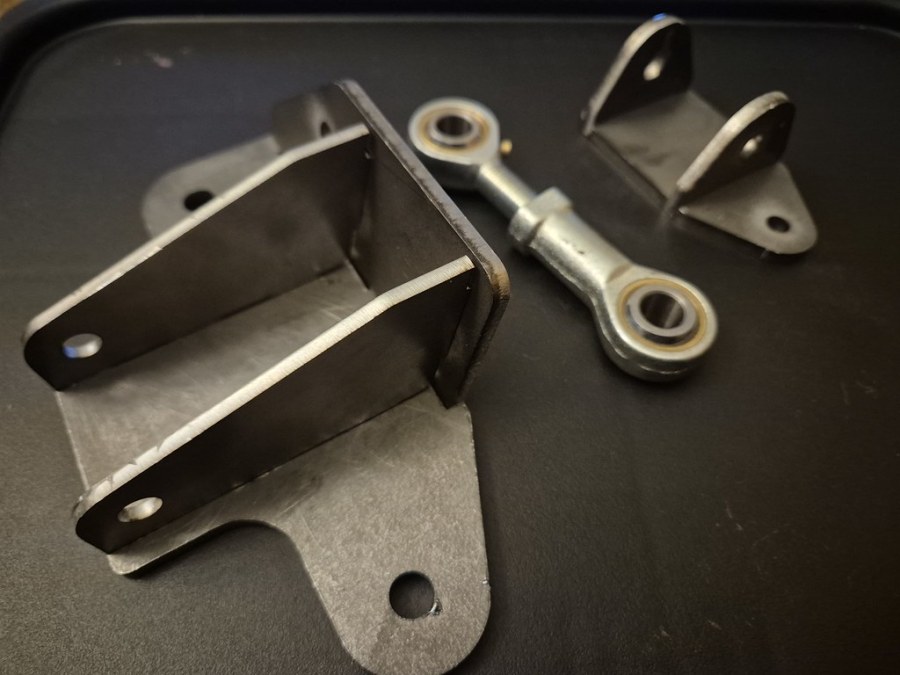
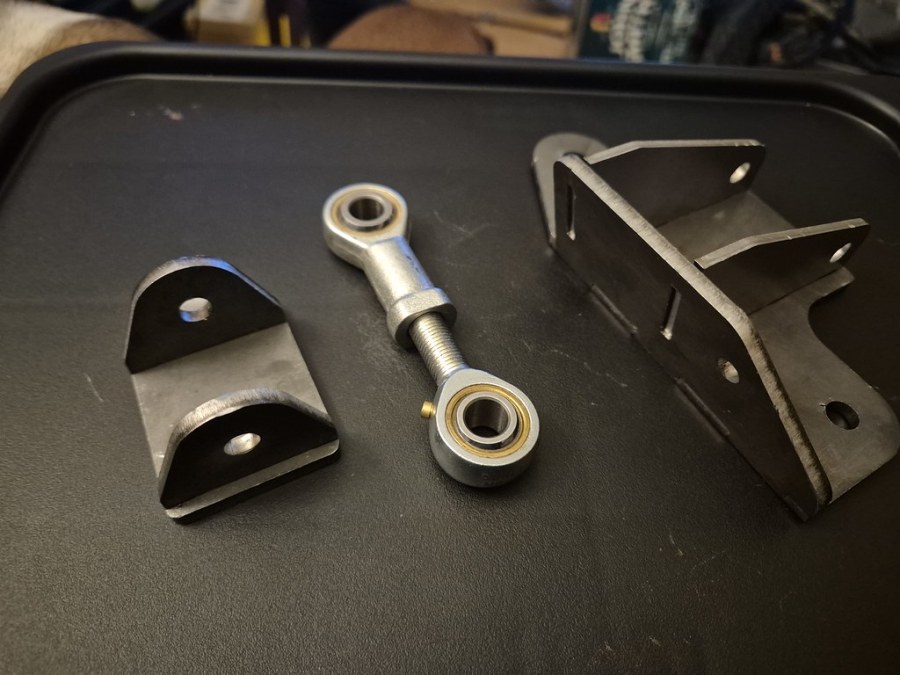
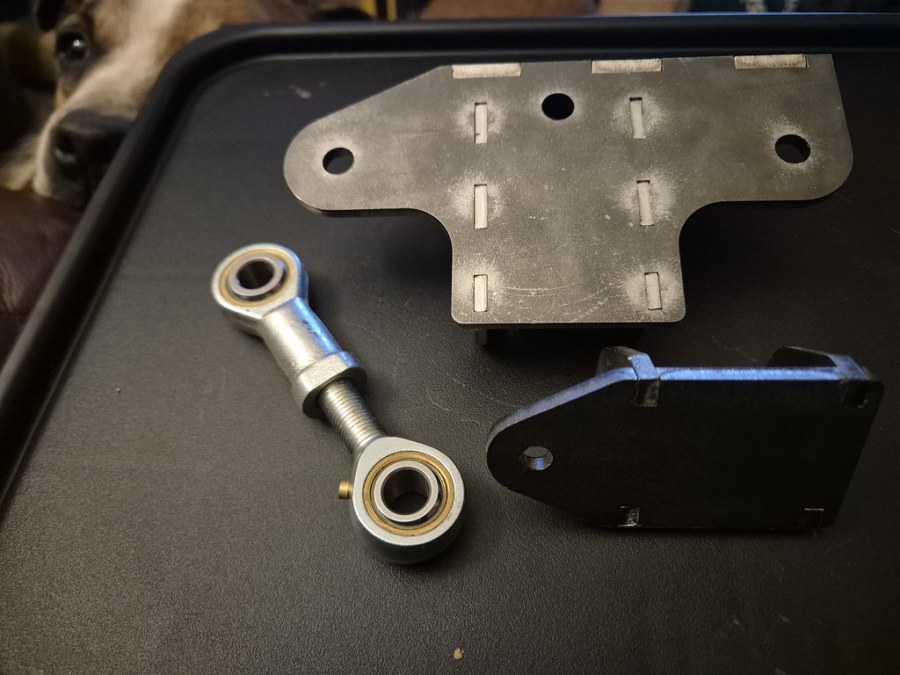
My laser cut parts for my head steady arrived today. I fitted them together and tested for clearance on the bike

I use a tab and slot system to lock the parts together prior to welding. The two holes at the front are where the spring support ties in.

What Did You Do With Your Commando Today?
20260310_192633 by Sigma Projects, on Flickr

What Did You Do With Your Commando Today?
20260310_192703 by Sigma Projects, on Flickr

What Did You Do With Your Commando Today?
20260310_192836 by Sigma Projects, on Flickr
 
I replaced my alternator stator and took it around the block for a test. As soon as I hit the second corner my bike died in the worst possible area of a merge lane on a 50 mph street. Thankfully there was a police car directly behind me. He jumped out and asked me if I needed some help. He offered to stay behind me and keep me protected while I pushed my bike 1/4 mile to the gas station. Shout out to the nice cops out there.
 
My laser cut parts for my head steady arrived today. I fitted them together and tested for clearance on the bike

I use a tab and slot system to lock the parts together prior to welding. The two holes at the front are where the spring support ties in.

https://flic.kr/p/2s1AE5B20260310_192633 by Sigma Projects, on Flickr

https://www.flickr.com/gp/150852570@N02/9f6Cf31S0m20260310_192703 by Sigma Projects, on Flickr

https://www.flickr.com/gp/150852570@N02/18JSTu5X7b20260310_192836 by Sigma Projects, on Flickr
Wow!! That’s built to last!
 
It takes up to 2 hrs . of sanding down circularly on a flat plane to get the snug fit .
Finger tips should be protected
When I do my circlips, I took a US ten cent coin, a "dime" and attached it to a piece of wood about 1"x1"x4" long. Cut square of course. Attach the dime to the 1"x1" end with just a tad of whatever will hold it there. The circlip fits snuggly over the dime. Perfect fit. Sand away on flat surface. Circlip easily removed to check thickness/fitment. You still have your fingertips, and it only takes about 20 minutes. I believe a Canadian "dime"/ 10 cent piece may be similar in diameter. Check it out.
 
Finished Penetroling from of the survivor original paint bike I am working on. Will put the new vernier front iso and david taylor headsteady in and reinstall the battery tray tomorrow (i hope).
 
I replaced my alternator stator and took it around the block for a test. As soon as I hit the second corner my bike died in the worst possible area of a merge lane on a 50 mph street. Thankfully there was a police car directly behind me. He jumped out and asked me if I needed some help. He offered to stay behind me and keep me protected while I pushed my bike 1/4 mile to the gas station. Shout out to the nice cops out there.
So, what happened with your bike to make it quit like that? Was there a problem with your new stator? I'm going to be doing the same thing soon and upgrading my original alternator setup with a 3-phase kit from Matt @cNw.
 
My laser cut parts for my head steady arrived today. I fitted them together and tested for clearance on the bike

I use a tab and slot system to lock the parts together prior to welding. The two holes at the front are where the spring support ties in.

https://flic.kr/p/2s1AE5B20260310_192633 by Sigma Projects, on Flickr

https://www.flickr.com/gp/150852570@N02/9f6Cf31S0m20260310_192703 by Sigma Projects, on Flickr

https://www.flickr.com/gp/150852570@N02/18JSTu5X7b20260310_192836 by Sigma Projects, on Flickr
Andy,
I love the look on the dogs face.Keeping an eye out on the progress!
Mike
 
Today I: checked head bolts, looks like the composite gasket has finally settled in, checked valves, clearances good, checked primary and gearbox oil, both levels OK. I replaced one exhaust valve gasket and the intake gasket with the JS Motosports silicone fiberglass gaskets. Decided not to replace the other exhaust valve gasket yet, because the paper gasket looks good and I want to do a test run on the fiberglass.
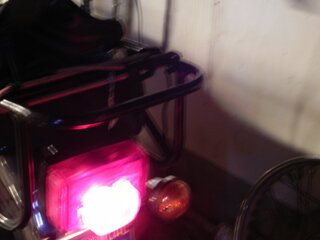
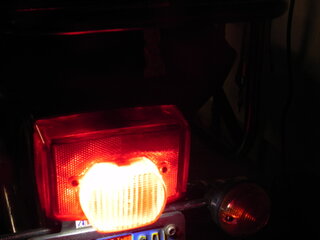
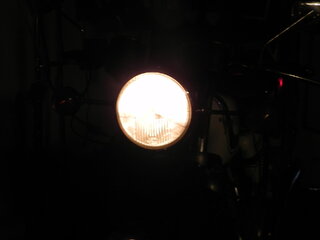
I replaced the head and tail light with LED's. The headlight is from Paul Goff, tail light is Lucas. The first photos is the LED headlight. The second photo is the old taillight. Photo 3 is the LED taillight. Photo 4 is the previous headlight, a 60 watt H4DSCN2723.JPGDSCN2721.JPGDSCN2727.JPGDSCN2719.JPG
 
So, what happened with your bike to make it quit like that? Was there a problem with your new stator? I'm going to be doing the same thing soon and upgrading my original alternator setup with a 3-phase kit from Matt @cNw.
Ha! I was out of gas. My last stator (3ph 10.5a) was rubbing on the rotor. It melted the epoxy and destroyed the whole thing. I took a cue from Matt and modified the new stator to increase clearance. It still charges at perfect levels.
 
Ha! I was out of gas. My last stator (3ph 10.5a) was rubbing on the rotor. It melted the epoxy and destroyed the whole thing. I took a cue from Matt and modified the new stator to increase clearance. It still charges at perfect levels.
What was Matt’s trick for increasing clearance ?
 
Ha! I was out of gas. My last stator (3ph 10.5a) was rubbing on the rotor. It melted the epoxy and destroyed the whole thing. I took a cue from Matt and modified the new stator to increase clearance. It still charges at perfect levels.
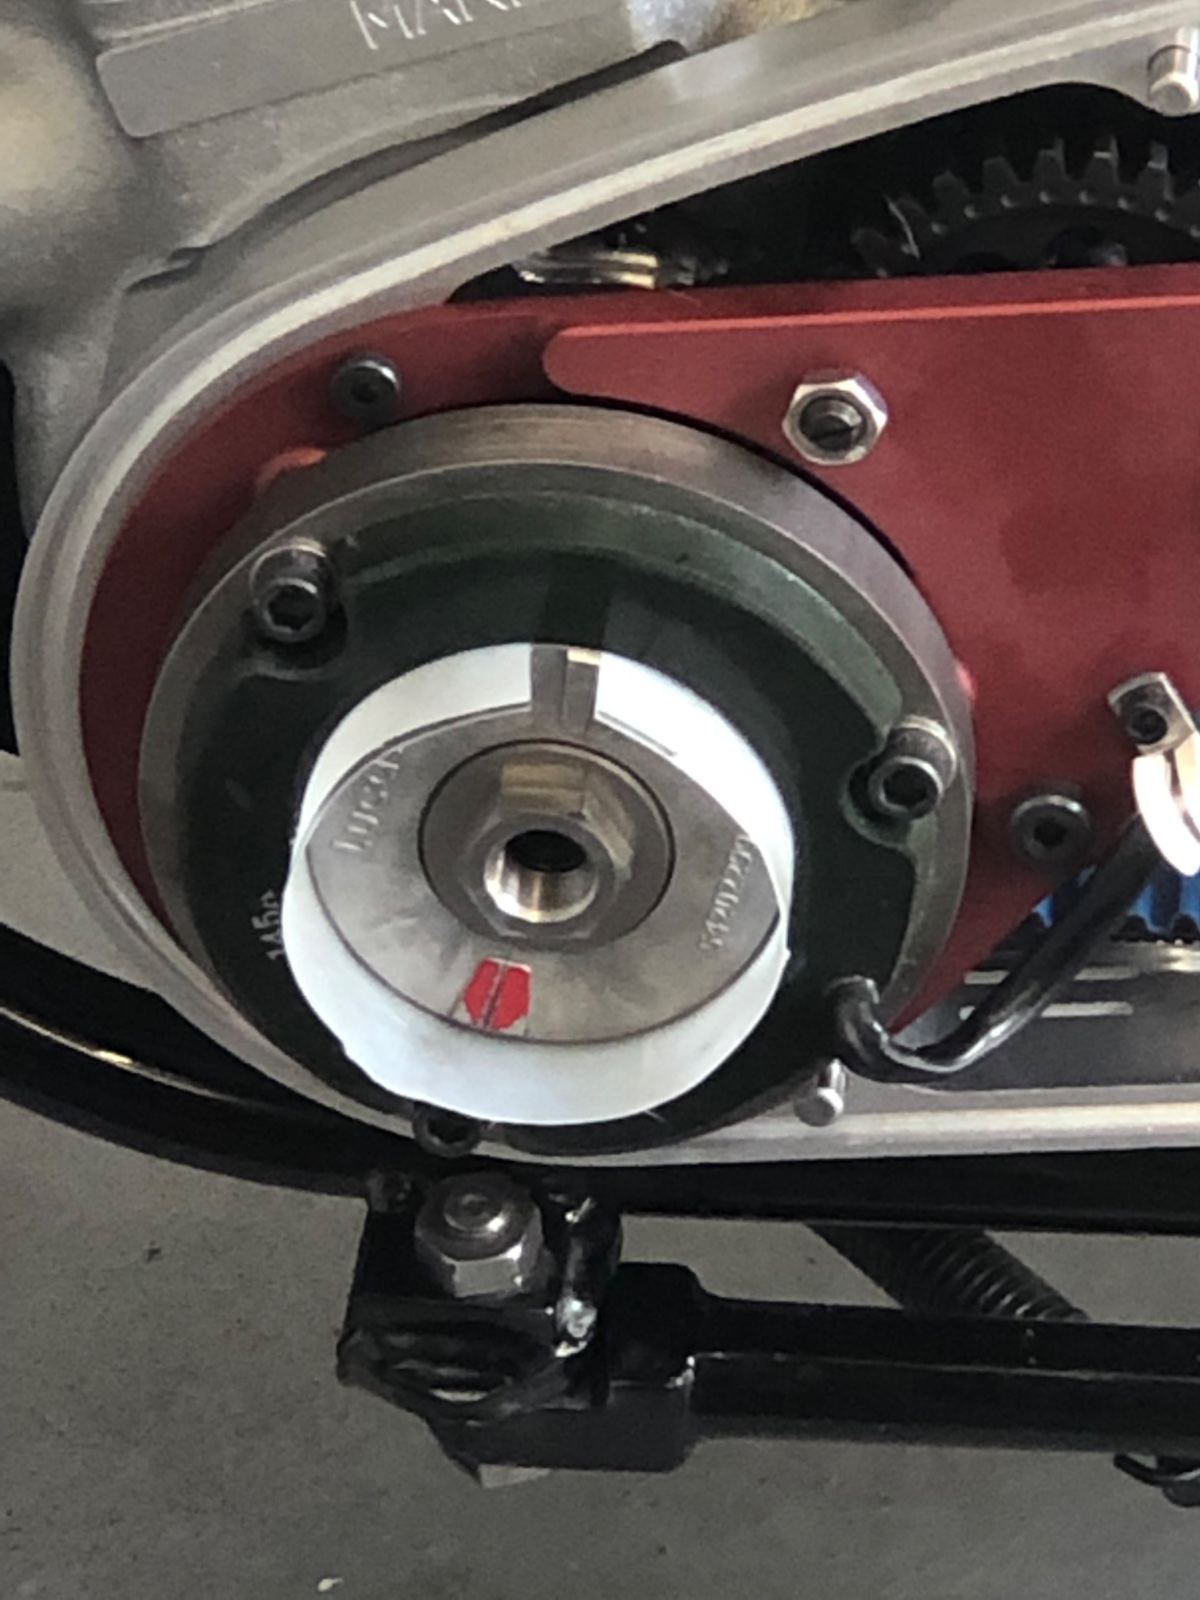
Many seem to have this problem (at least that talk about it). When I bought my 14.5 amp 3 phase stator with a new rotor from Matt I used a cut-up plastic water bottle that measured 0.01" thick to make sure I had the proper clearance between the rotor and stator (I have Matt's e-start so the stator mounting is different than stock). I tested it at idle and the clearance and charging was fine. I went for a ride and noticed that my IC charge warning light was showing no charging after a while. When I got back home and pulled the stator it was completely melted and destroyed. I had Matt turn down the rotor 0.01" all around and installed a new stator. Same installation procedure with no issue at idle, but when ridden it was rubbing again, but not as much. I used a Dremel tool with a sanding drum to clean up the inside of the stator and remove a little of the epoxy material all around being careful not to damage the magnets. Finally all is well, but I would guess that I now have about 0.025" of clearance and still get good charging. I measured the crankshaft with a dial indicator and am not getting any noticeable deflection when manually turning it, but who knows if there might be some when it runs and heats up. Maybe a slight bearing issue, although the engine has less than 1,000 miles since completely rebuilt by Classic Bike Experience.
 
Many seem to have this problem (at least that talk about it). When I bought my 14.5 amp 3 phase stator with a new rotor from Matt I used a cut-up plastic water bottle that measured 0.01" thick to make sure I had the proper clearance between the rotor and stator (I have Matt's e-start so the stator mounting is different than stock). I tested it at idle and the clearance and charging was fine. I went for a ride and noticed that my IC charge warning light was showing no charging after a while. When I got back home and pulled the stator it was completely melted and destroyed. I had Matt turn down the rotor 0.01" all around and installed a new stator. Same installation procedure with no issue at idle, but when ridden it was rubbing again, but not as much. I used a Dremel tool with a sanding drum to clean up the inside of the stator and remove a little of the epoxy material all around being careful not to damage the magnets. Finally all is well, but I would guess that I now have about 0.025" of clearance and still get good charging. I measured the crankshaft with a dial indicator and am not getting any noticeable deflection when manually turning it, but who knows if there might be some when it runs and heats up. Maybe a slight bearing issue, although the engine has less than 1,000 miles since completely rebuilt by Classic Bike Experience.
On all my Lucas equipped Brit bikes I now ensure a 0.020” gap (ie rotor OD 0.040” smaller than stator ID) and use a strip of a plastic milk carton to ensure clearance all round when tightening things up.
I’ve never had any charging issues as a result.
Someone on here cleverer than me once calculated the likely reduction in charging as a result and it was practically unmeasurably small.
IMG_1154.jpeg
 
Last edited:
Many seem to have this problem (at least that talk about it). When I bought my 14.5 amp 3 phase stator with a new rotor from Matt I used a cut-up plastic water bottle that measured 0.01" thick to make sure I had the proper clearance between the rotor and stator (I have Matt's e-start so the stator mounting is different than stock). I tested it at idle and the clearance and charging was fine. I went for a ride and noticed that my IC charge warning light was showing no charging after a while. When I got back home and pulled the stator it was completely melted and destroyed. I had Matt turn down the rotor 0.01" all around and installed a new stator. Same installation procedure with no issue at idle, but when ridden it was rubbing again, but not as much. I used a Dremel tool with a sanding drum to clean up the inside of the stator and remove a little of the epoxy material all around being careful not to damage the magnets. Finally all is well, but I would guess that I now have about 0.025" of clearance and still get good charging. I measured the crankshaft with a dial indicator and am not getting any noticeable deflection when manually turning it, but who knows if there might be some when it runs and heats up. Maybe a slight bearing issue, although the engine has less than 1,000 miles since completely rebuilt by Classic Bike Experience.
I had the same problem with a rotor bought from Andover. I spent several days with sandpaper and feeler gauges, making sure I had clearance all around. I found that there was a very slight wobble which led to less clearance in some positions.
 
Went for 75 mile ride, breakfast and back. Bike ran fine. Came back and changed oil and filter. I usually spill a lot of oil doing oil changes and this time I just spilled a few drops. Happy camper.
 
Back
Top