What Did You Do With Your Commando Today?

Not done at my Commando, but for my Commando. I have CAD drawn a stiffening plate for inside the rear drum. I will now move on to the other type of CAD (Cardboard Aided Design) to verify it will fit, then send the file to the laser cutters.
The only other mod is to put the brake cam in the lathe and drill / tap the end to take as shouldered bolt to hold it in place but allow rotation.
 
Next job took about 2 hours including set up.
I machined the Don Pender cush sprocket from 530 chain to 520 chain. I had to take it very slow as there was a hard spot about 20mm x 5mm just below the teeth. more than about 60 - 100rpm and the tool just bounced off it.
I just need to debur the teeth now
 
You should have bought Don's brake. It's simple, strong, works well and it looks like a part from the seventies, instead of the thirties. No centering this while you hold that while you tighten something else and end up with a spongy brake. Graham
 
I already bought a Norvil alloy brake plate, I decided before I fit it, I will give it every chance of success.
I ordered a set of Gold MZ brake shoes from RGM this morning.
Chatting to Roger about the rear brake he reckons the biggest problem is sponginess in the outer cable conduit where it curves over the Z plate. He believes the best way is to convert to rod, but it is very difficult as not much room.

A quick look at footrest and Z plate off the bike, a lot more gentle brake cable route could be arranged by cutting out a window in the Z plate and routing the cable through it.

No sign of a RGM website return soon, No one seems to want to take on the work
 
The Workshop manual is flat out against a rod operated rear brake due to the isolastics varying the geometry.
Amusing that Ducati copied the Norton cable arrangement when a rod would have been great.
 
At the moment I am thinking of using a ferrule bend to bring the cable close to horizontal. If the cable follows parallel and below the swing arm, any change in length will be negligible.
It is dead easy to move the swing arm through its range, without wheel and shocks and measure what the inner cable is doing.
 
Before I switched to a disk, I used a straight piece of cable (no outer) in combination with rear sets and the lever on the brake plate upwards.
A cable is more compatible with the iso system than a rod.
 
Laced a WM4 X 18 flangeless alloy rim with stainless spokes into my Don Pender r
rear hub.
All spokes tightened to 4.0nm / 26 lb inch

Just a slight 0.5mm - 0.7mm defection at the weld

I will leave it to settle until tomorrow, then go round with the torque wrench again
 
Rear wheel fully tensioned and I popped it in the bike, It seems to eye up in line with the top tube. String out tomorrow.

Front wheel spoked up, set true and more or less where I want it relative to the hub. Just needs final tensioning after checking offset against fork leg.

What a complete B'stard those disc side spokes are
 
I have just been reading the Norton factory method of truing the front wheel. A bit unconventional, but makes perfect sense with the spoke pattern used.

1. With all the spokes loose, the wheel is placed disk flange on the floor then stand on the rim to force it over to the disc side
2. Put wheel in stand and tension disc side inner spokes, these are almost flat to the hub and are used to set the rim to eliminate hop and egg.
3. Tension the outer disc side spokes to eliminate run out, this will pull the rim over towards the disc side.
4. Tension the inner and outer non disc side spokes to pull the rim into the correct offset position.
 
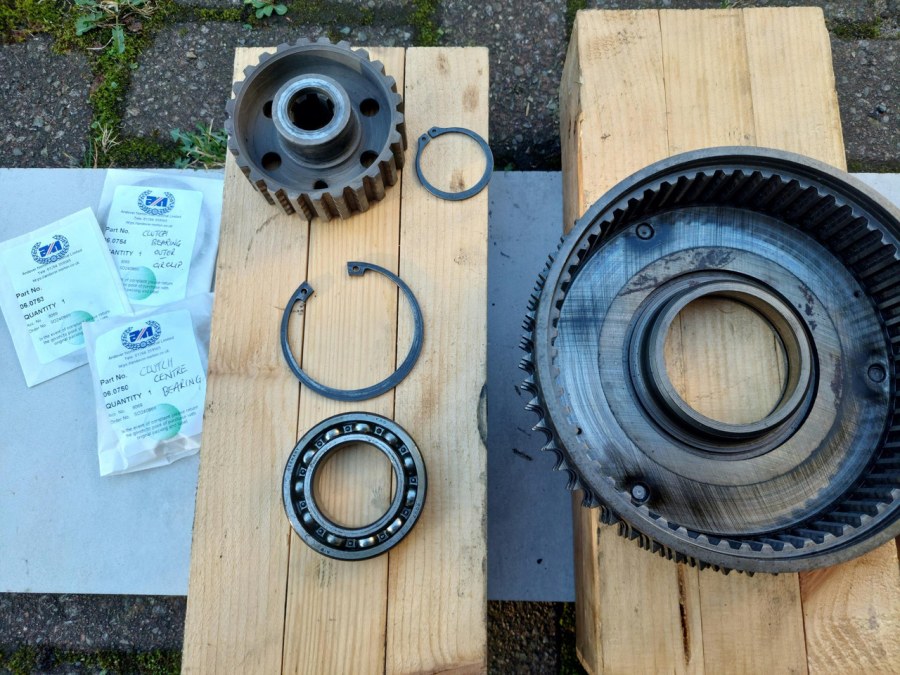
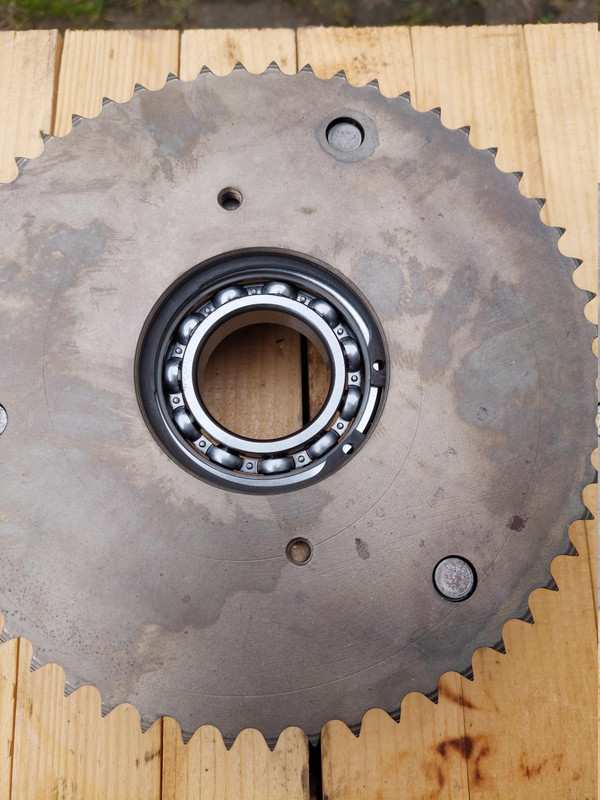
Discovered the clutch centre was notched and ordered a new one from Constant @HNW, and so took the opportunity to tap out the original FAG Germany bearing to replace with a new one (which is now in the freezer)...

What Did You Do With Your Commando Today?
 
Last edited:
I ran a string from the rear loop, around the headstock and back to the rear loop. I set the strings centrally in the rear loop, the same distance apart as at the headstock and parallel to each other.
With the shocks off I lifted the rear wheel until it touched the string. It is exactly in line with the top tube
 
I did this exact method with the freezer and heat in a different application though. When I pulled the bearing out of the freezer it immediately covered in white frost which wouldn't wipe off. I dropped it in anyway but wondered if the condensation would cause future issues removing it
 
I did this exact method with the freezer and heat in a different application though. When I pulled the bearing out of the freezer it immediately covered in white frost which wouldn't wipe off. I dropped it in anyway but wondered if the condensation would cause future issues removing it

I don't know if it will cause a removal issue further down the line.

To be honest, the 50+ years old original was fine and wobble free, I just changed it because I was there and I had a new one. I have a feeling I won't be changing this one (in this lifetime).
 
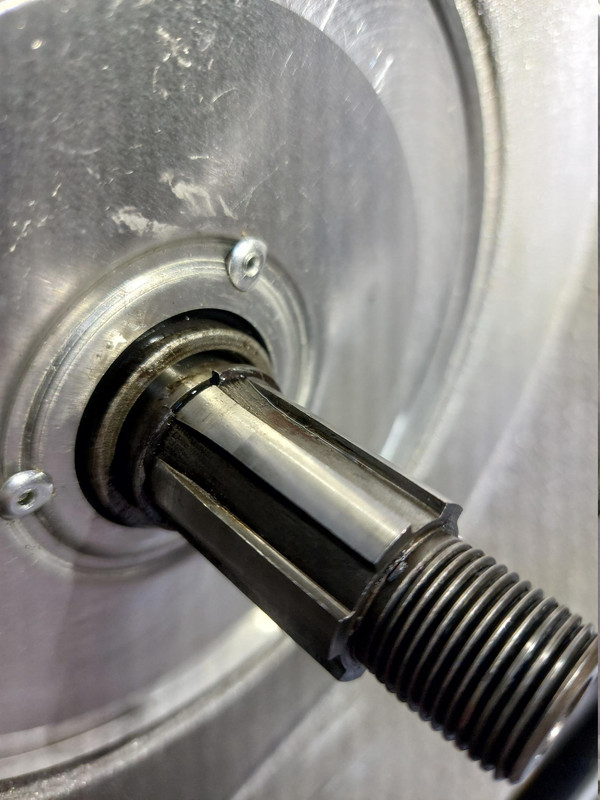
After removing the original clutch location circlip, I spent some time rubbing down circlip No: 060872. I managed to get it over the shaft and into the groove ok, but wasn't happy with how it sat in the recess of the spacer....

What Did You Do With Your Commando Today?


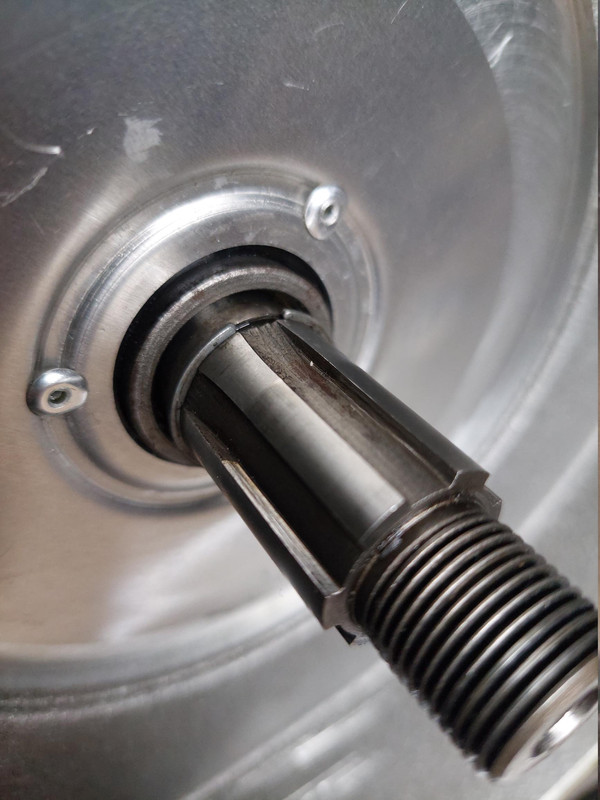
...so I abandoned trying another one and slipped a new circlip No: 060752 back on...

What Did You Do With Your Commando Today?
 
The whole point is to get it tight into the shaft slot . Use a small punch to seat fully home after the thinning . It is a harder material steel , which is what you want .
Andover should get on it and have them as a better replacement .
 
The whole point is to get it tight into the shaft slot . Use a small punch to seat fully home after the thinning . It is a harder material steel , which is what you want .
Andover should get on it and have them as a better replacement .
I gave it a few taps on a punch but ultimately I don't think I'd thinned it quite enough.
 
Back
Top