
You are using an out of date browser. It may not display this or other websites correctly.
You should upgrade or use an alternative browser.
You should upgrade or use an alternative browser.
What Did You Do With Your Commando Today?
- Thread starter Starvingphotog
- Start date




Torontonian
MEMBER
- Joined
- Dec 2009
- Messages
- 5,844

Got us home safe . Norton never missed a beat after 2200 kms.
Checked oil level dipstick and again .. no oil level change , half way between high and low marks . Honey clear .
Thank yous out to to J.S. and Gord Bush in Etobicoke for expert advice , products and perfect machining .
Checked oil level dipstick and again .. no oil level change , half way between high and low marks . Honey clear .
Thank yous out to to J.S. and Gord Bush in Etobicoke for expert advice , products and perfect machining .

- Joined
- Aug 2011
- Messages
- 1,544

Nice to see all the nice bikes from all over the world!I had a nice ride out to Tungenes here on the South-western coast of Norway. Even though it is still summer, it was quite chilly today. But a great ride nonetheless.
View attachment 125771
Mike
nortonmargie
FULL MEMBER
- Joined
- Jan 2022
- Messages
- 452
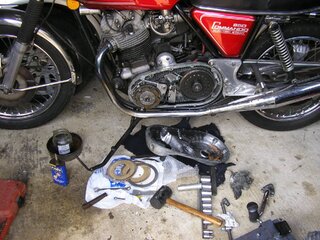
Removed and cleaned up my clutch plates. I was having problems finding neutral, and found the plates sticky with oil - operator error, need to measure primary case oil, not guesstimate. Some things that made the process a little easier:
(1) Mark the position of the shifter before removing primary cover (Mark III)
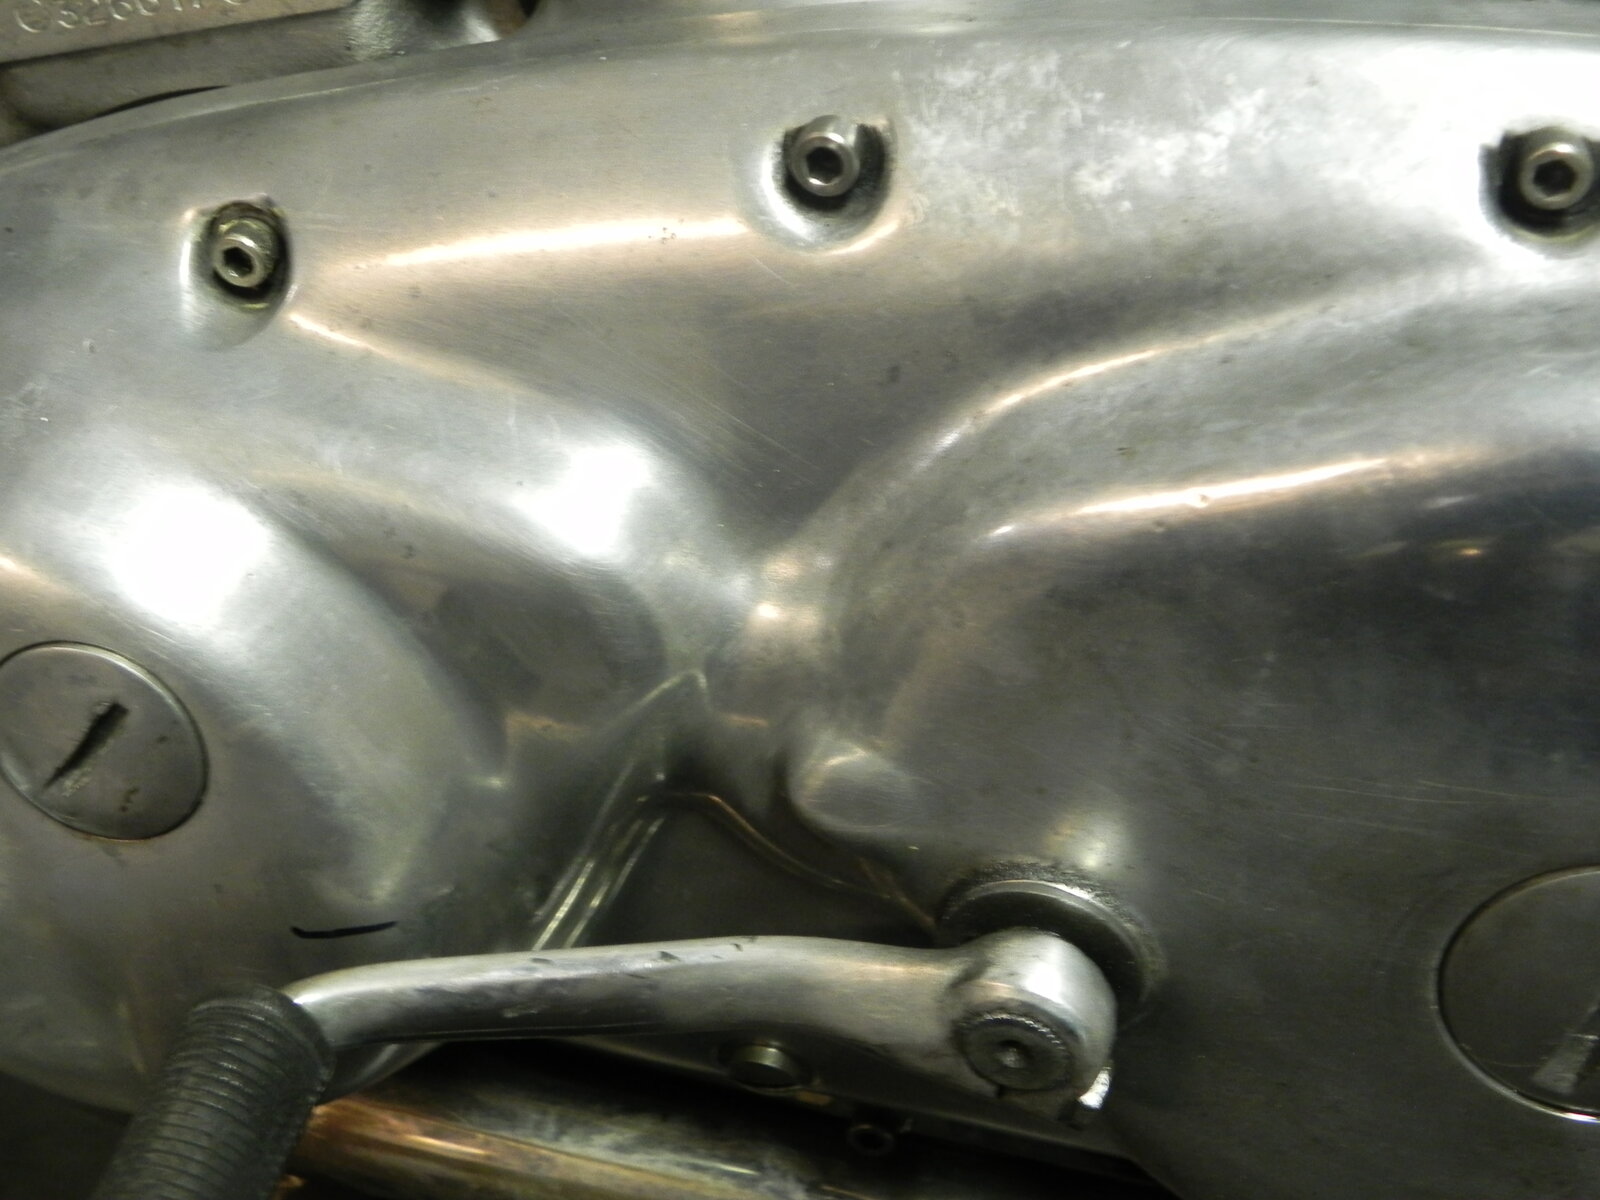
(1) Mark the position of the shifter before removing primary cover (Mark III)
nortonmargie
FULL MEMBER
- Joined
- Jan 2022
- Messages
- 452
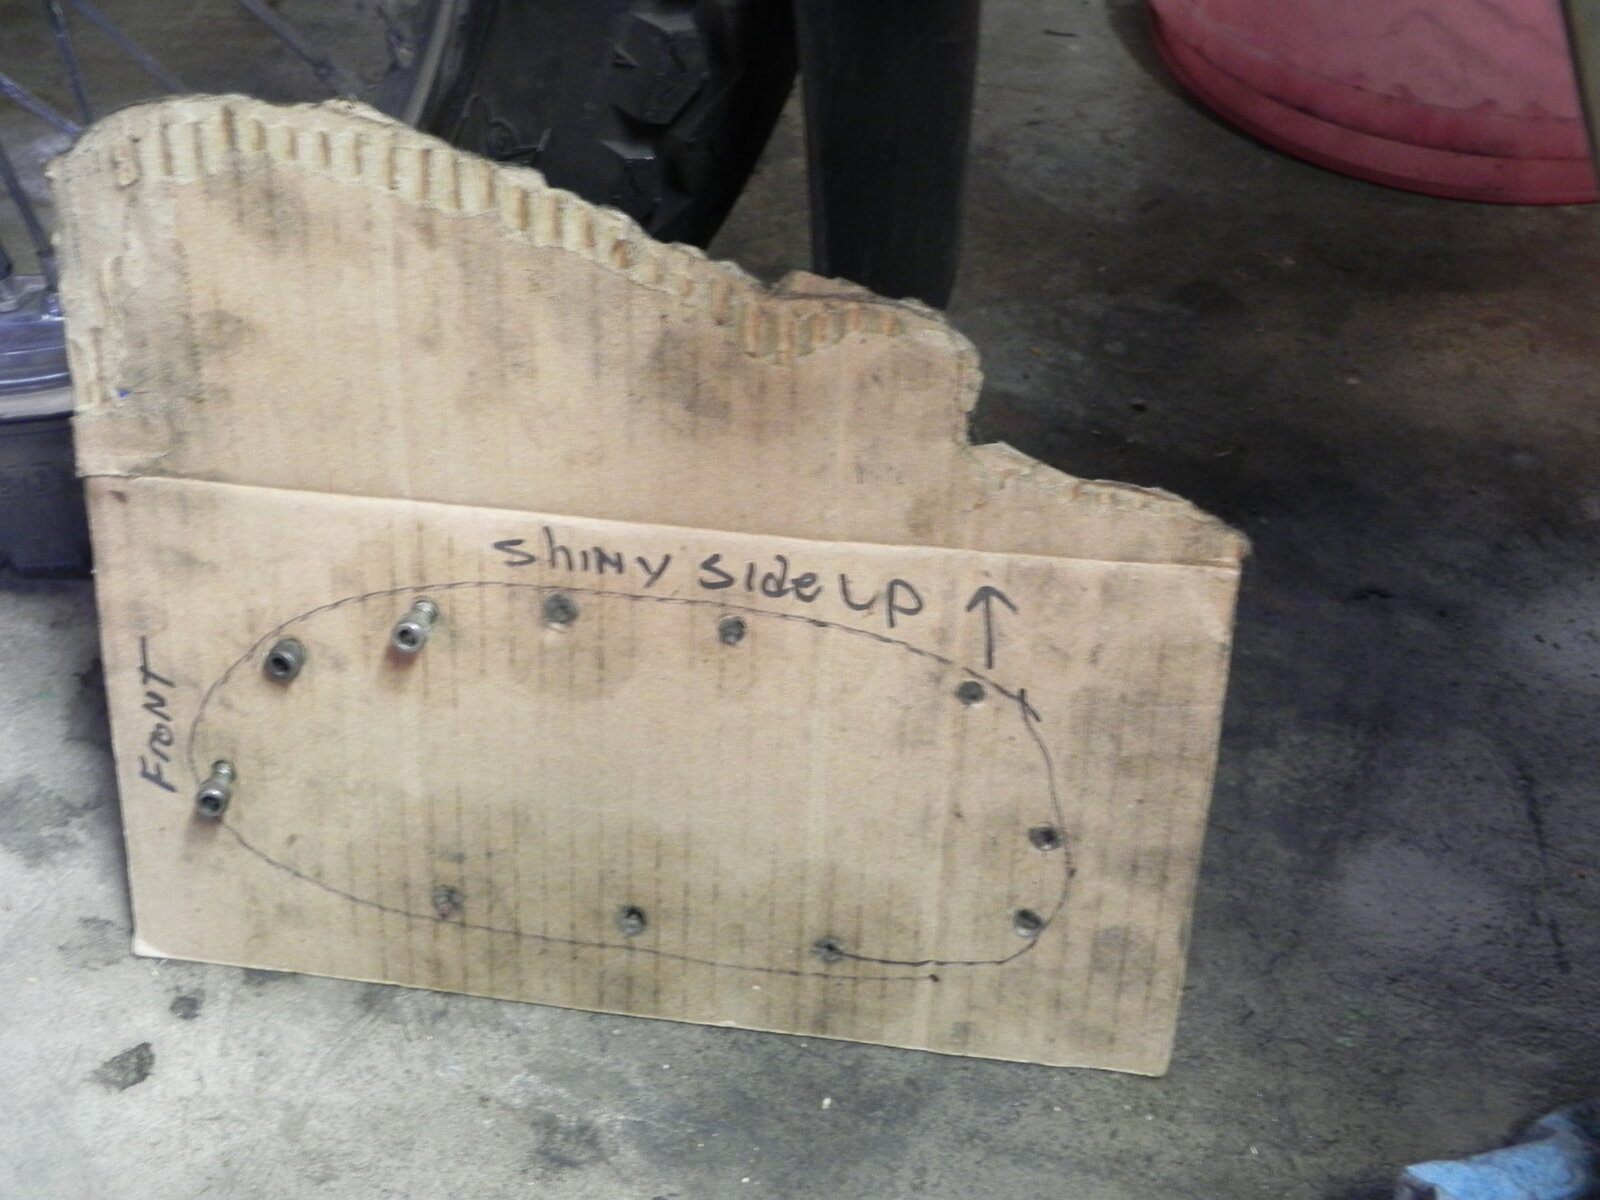
Draw an outline of the primary case on a piece of cardboard and punch holes for all the bolts. Replace stock bolts with Allen heads that don't strip out. .
Torontonian
MEMBER
- Joined
- Dec 2009
- Messages
- 5,844
Most important one is upper central long one for starter motor fit .
Use a marker for shifter position where you foot likes it .
Use a marker for shifter position where you foot likes it .
Torontonian
MEMBER
- Joined
- Dec 2009
- Messages
- 5,844
There is no need to ever detach and remove /refit the shift lever . Simply keep it fixed and when pulling the primary cover off , use it as a handle . Same goes for reinstallation , to the shifting position you want it to be . Enjoy .Most important one is upper central long one for starter motor fit .
Use a marker for shifter position where you foot likes it .
nortonmargie
FULL MEMBER
- Joined
- Jan 2022
- Messages
- 452
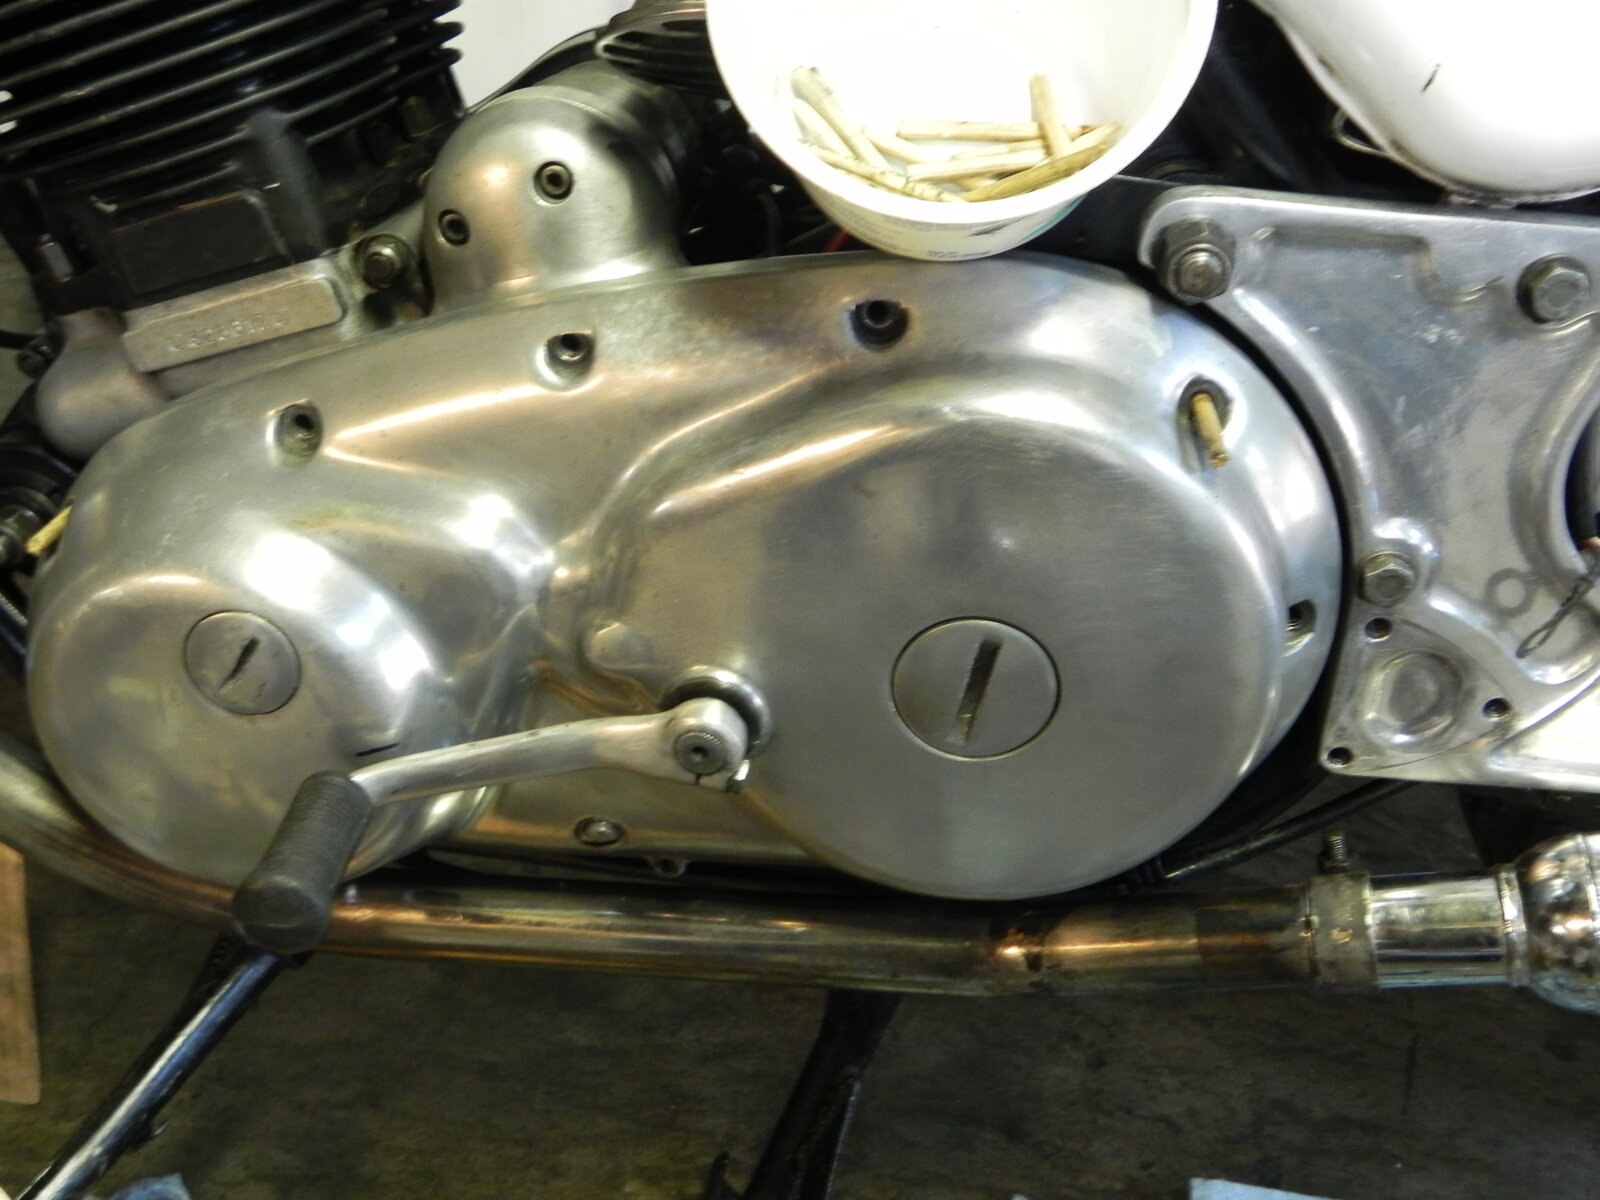
Use dowels cut to 2" length and shaved to fit to help locate primary cover. Acts as 3rd hand while convincing shifter to get back into position
Torontonian
MEMBER
- Joined
- Dec 2009
- Messages
- 5,844
Never had this need . Simply offer the case to home using the shifter as a fixed handle . Push in as needed with the shifter in your preffered foot position for shifting . Screw cap (clutch ) , is best loosened off whilst cover is on . You need it open to pour in 200 C.C. of 20 W 50 .Use dowels cut to 2" length and shaved to fit to help locate primary cover. Acts as 3rd hand while convincing shifter to get back into positionView attachment 125785
seattle##gs
FULL MEMBER
- Joined
- Oct 2014
- Messages
- 2,293
I installed a single Mikuni manifold on an 850. The gaskets were a poor fit with the Amals and even worse fit with the Mikuni manifold. I took a spare manifold and milled it to about 1/2" thick so I could get a good look at how the manifold meets the head. Very poor. Marked the difference with a sharpie and ground off the excess with a dremel, matching the ports. I went in about 1/4" into the intake and blended "A into "B". Then I put the carb gaskets onto the manifold with yamabond (none on the head side) and bolted it up for 1/2 a day. The manifold was easy to remove and I trimmed off any excess gasket.
I will bet that very few people bother to check the fit of the intake gaskets and almost all of the motors I deal with have the gaskets interfering with the flow. They all run well but it sure can't hurt to check and trim away any excess.
The Mikuni manifold is much harder to see a problem, so I sacrificed a manifold. I bet 90% of all Mikuni conversions have an awkward step at the head.
I will bet that very few people bother to check the fit of the intake gaskets and almost all of the motors I deal with have the gaskets interfering with the flow. They all run well but it sure can't hurt to check and trim away any excess.
The Mikuni manifold is much harder to see a problem, so I sacrificed a manifold. I bet 90% of all Mikuni conversions have an awkward step at the head.
Torontonian
MEMBER
- Joined
- Dec 2009
- Messages
- 5,844
Yes they interfere , with compressions and age .I installed a single Mikuni manifold on an 850. The gaskets were a poor fit with the Amals and even worse fit with the Mikuni manifold. I took a spare manifold and milled it to about 1/2" thick so I could get a good look at how the manifold meets the head. Very poor. Marked the difference with a sharpie and ground off the excess with a dremel, matching the ports. I went in about 1/4" into the intake and blended "A into "B". Then I put the carb gaskets onto the manifold with yamabond (none on the head side) and bolted it up for 1/2 a day. The manifold was easy to remove and I trimmed off any excess gasket.
I will bet that very few people bother to check the fit of the intake gaskets and almost all of the motors I deal with have the gaskets interfering with the flow. They all run well but it sure can't hurt to check and trim away any excess.
The Mikuni manifold is much harder to see a problem, so I sacrificed a manifold. I bet 90% of all Mikuni conversions have an awkward step at the head.
The newer phenollic cheapo ones crush and with heat expand a bit into the intake port tract .
If you have the older type insulators , don't throw them out .
Much harder material . no expandings into port tracts .

EstuaryBoy
FULL MEMBER
- Joined
- Mar 2020
- Messages
- 3,152

Treated it to a long overdue 'upgrade'... Had these on the shelf for a while, but hadn't the enthusiasm to fit until now.. Chaincase was stubborn, but found a non threatening leverage point (after a few warning shots with the big hammer!!) by putting a ring spanner over the drain plug and levering twixt that and the exhaust pipe  . Giving blue Hylomar a pass this time, and trying their 'Advanced Formula' gasket goo, though frankly I have no wish to go in there again in this lifetime!!
. Giving blue Hylomar a pass this time, and trying their 'Advanced Formula' gasket goo, though frankly I have no wish to go in there again in this lifetime!!Attachments

concours
FULL MEMBER
- Joined
- Dec 2011
- Messages
- 10,765
Use Loctite 518 as a gasket dressing. No leaks, and comes apart easily.Treated it to a long overdue 'upgrade'... Had these on the shelf for a while, but hadn't the enthusiasm to fit until now.. Chaincase was stubborn, but found a non threatening leverage point (after a few warning shots with the big hammer!!) by putting a ring spanner over the drain plug and levering twixt that and the exhaust pipe
#Beststuffever

gortnipper
MEMBER
- Joined
- Nov 2013
- Messages
- 5,542

I used to do similar with a light smear of RTV.Use Loctite 518 as a gasket dressing. No leaks, and comes apart easily.
#Beststuffever
But now I get no leaks with my belt drive kit! ;-)

nortonmargie
FULL MEMBER
- Joined
- Jan 2022
- Messages
- 452
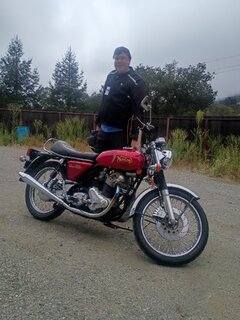
Finished putting the left side together and then took out for a mile and a half shakedown. No adjustments needed, bike ran great. Going to breakfast next week on Nort
Similar threads

- Replies
- 103
- Views
- 14,221

- Replies
- 10
- Views
- 2,008

- Locked
- Replies
- 93
- Views
- 17,688
V
- Replies
- 67
- Views
- 10,590
