Sorry to derail the thread momentarily. They are a great idea but just remember to remove them.
I bought a T150 a few yrs back that just needed finishing ie cables hoses n paintwork. Motor was sorted new rods etc etc. to cut a long story short a few things niggled me about the quality of the engine build ie no engine sprocket tab washer, sump plate on back to front.
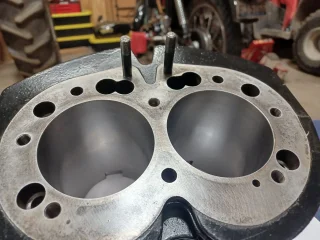
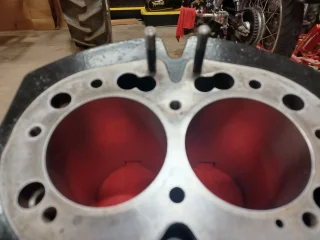
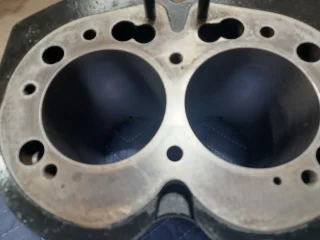
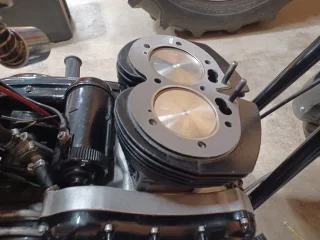
with these findings I decided to strip the motor completely when I got it down the drive side rod was still wearing the pipe insulation.
I dread to think what would have happened if I had started it with it in