Norton Villiers Commando 1968 Re commissioning an adventures at 30

cleaning out oil tank: recently tried ‘green’ Gunk, which is not good for that task, as it doesn’t do much for hydrocarbon sludge. Paint thinners was very good in comparison.
 
Thanks Jan gonna try tackle that day after tomorrow,

Bit of progress today

Norton Villiers Commando 1968 Re commissioning an adventures at 30

New oil pump from Andover all assembled and primed :) and the gearbox is back together made very easy by the lifter alignment tool and locking collar tool took seconds. So thats all back together.

Gonna be quite a big day tomorrow fit the pump fit the timing cover, re attatch the clutch cable n give that a whirl. Run the new rocker oil line from Andover and run the oil lines for the spin on oil filter got the line protectors for those to hopefully when all that's done I'll get the stator cable through the new grommet I've got then do one more pass over the bike to see if there's anything I'm missing hoping to get some correct levers and grips ordered as well :)

Hopefully will nip out and get some bs226 to do a spray out with all being well.
 
Gone pretty well today :) oil pump is on clutch is re assembled with the new plates and that in combination with the new adjuster let me set it all up correctly I'm gonna play around with the stack height at a later date. Ordered the last few bits tonight hopefully to finish the bike from Andover some new levers replacment timing cover gasket fuel taps and an oil priming tool :) gonna order some oil tomorrow. Fitted a new kickstart rubber to until I can afford all the correct matt chrome bits.

Just in the process of chatting to a few paint companies about doing the bodywork for it so having a weigh up there about sending it out to be done in bs226 or waiting for it to warm up an doing it myself. Shall see what the turn around times are.

Once these last few bits turn up ull run the oil lines fit the oil tank and if I've missed any tiny bits get them ordered in time to give it a fire up. Also need to rig up a fuel line to my remote fuel bottle now ive not got any Japanese stuff
Norton Villiers Commando 1968 Re commissioning an adventures at 30
 
Commando is coming on good! Popped the old petrol tank on so I could set the bar height on my new Andover Norton bars and levers. The timing chest is all buttoned up with the new Andover oil pump and gasket + seals all fitted. Now I just need to solve the the case of the missing timing cover screw! Haha!

Next few jobs on the 68 are to reset all the cable adjustments on the carbs now she has the correct bars and levers. Then I want to play with the stack height on the clutch as the lever action is still really fierce at the moment it's to stock for a 5 plate clutch setup, so gonna try a combination of plates to see if I can improve matters and mess with the cable run now the bars are the right height. At the moment it's all to stock through the headsteady etc.

Apparently we are meant to be getting 10 degrees on Tuesday an Wednesday so hoping I can paint the tail and petrol tank it's-7 again at the moment so decided to have a break.

Jobs left to do after that is run the oil lines and time the ignition then it's nearly ready for her first start! Need to wash the oil tank out on Sunday to.

I also need to recreate some badges to fit in the steel tanks slightly smaller roundels and with the right chrome backing and correct fonts :)

Norton Villiers Commando 1968 Re commissioning an adventures at 30
 
Bit of a slow weekend due to the weather! Got the grips on though :)

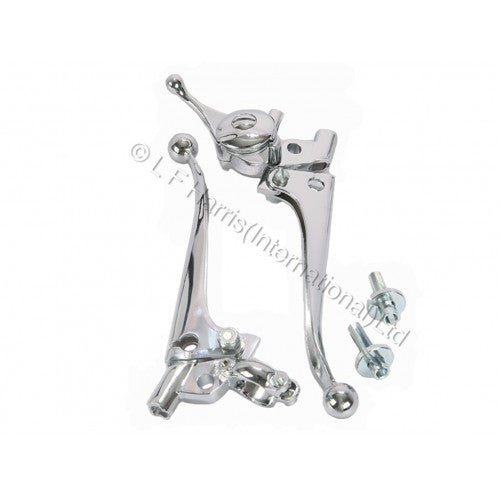
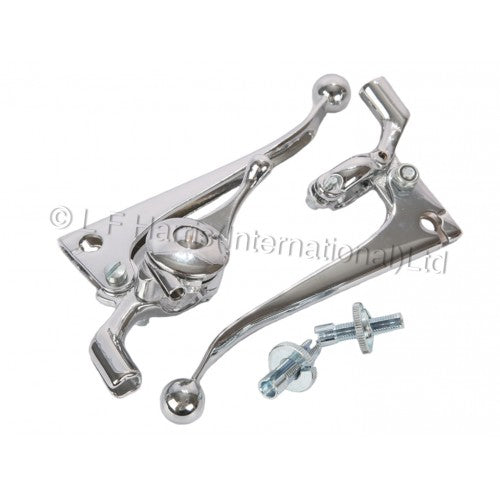
The slightly trickier thing is gonna be sourcing a set of 1968 control levers that are correct least these ones from Andover will be good for now + the option of a Mirror if I want to and the tricon switch with the green button thinking I might just paint the red button initially with some plastic paint so it look's a bit closer that's for further down the line though.

The current ones I've got from Andover look like Triumph ones to me I've been looking about online and it looks like LF Harris in Devon do some that look closer without the mirror holes but those don't have screw in adjusters looking at older posts from others on here.


Where's everyone getting metal cable nipples from the Nipple sleeve isn't fitting well into the lever (thinking that's a Venhill cable had that on the 650ss and changed the cable) so thinking the best way will be to take the small nipple off and put a new one on.
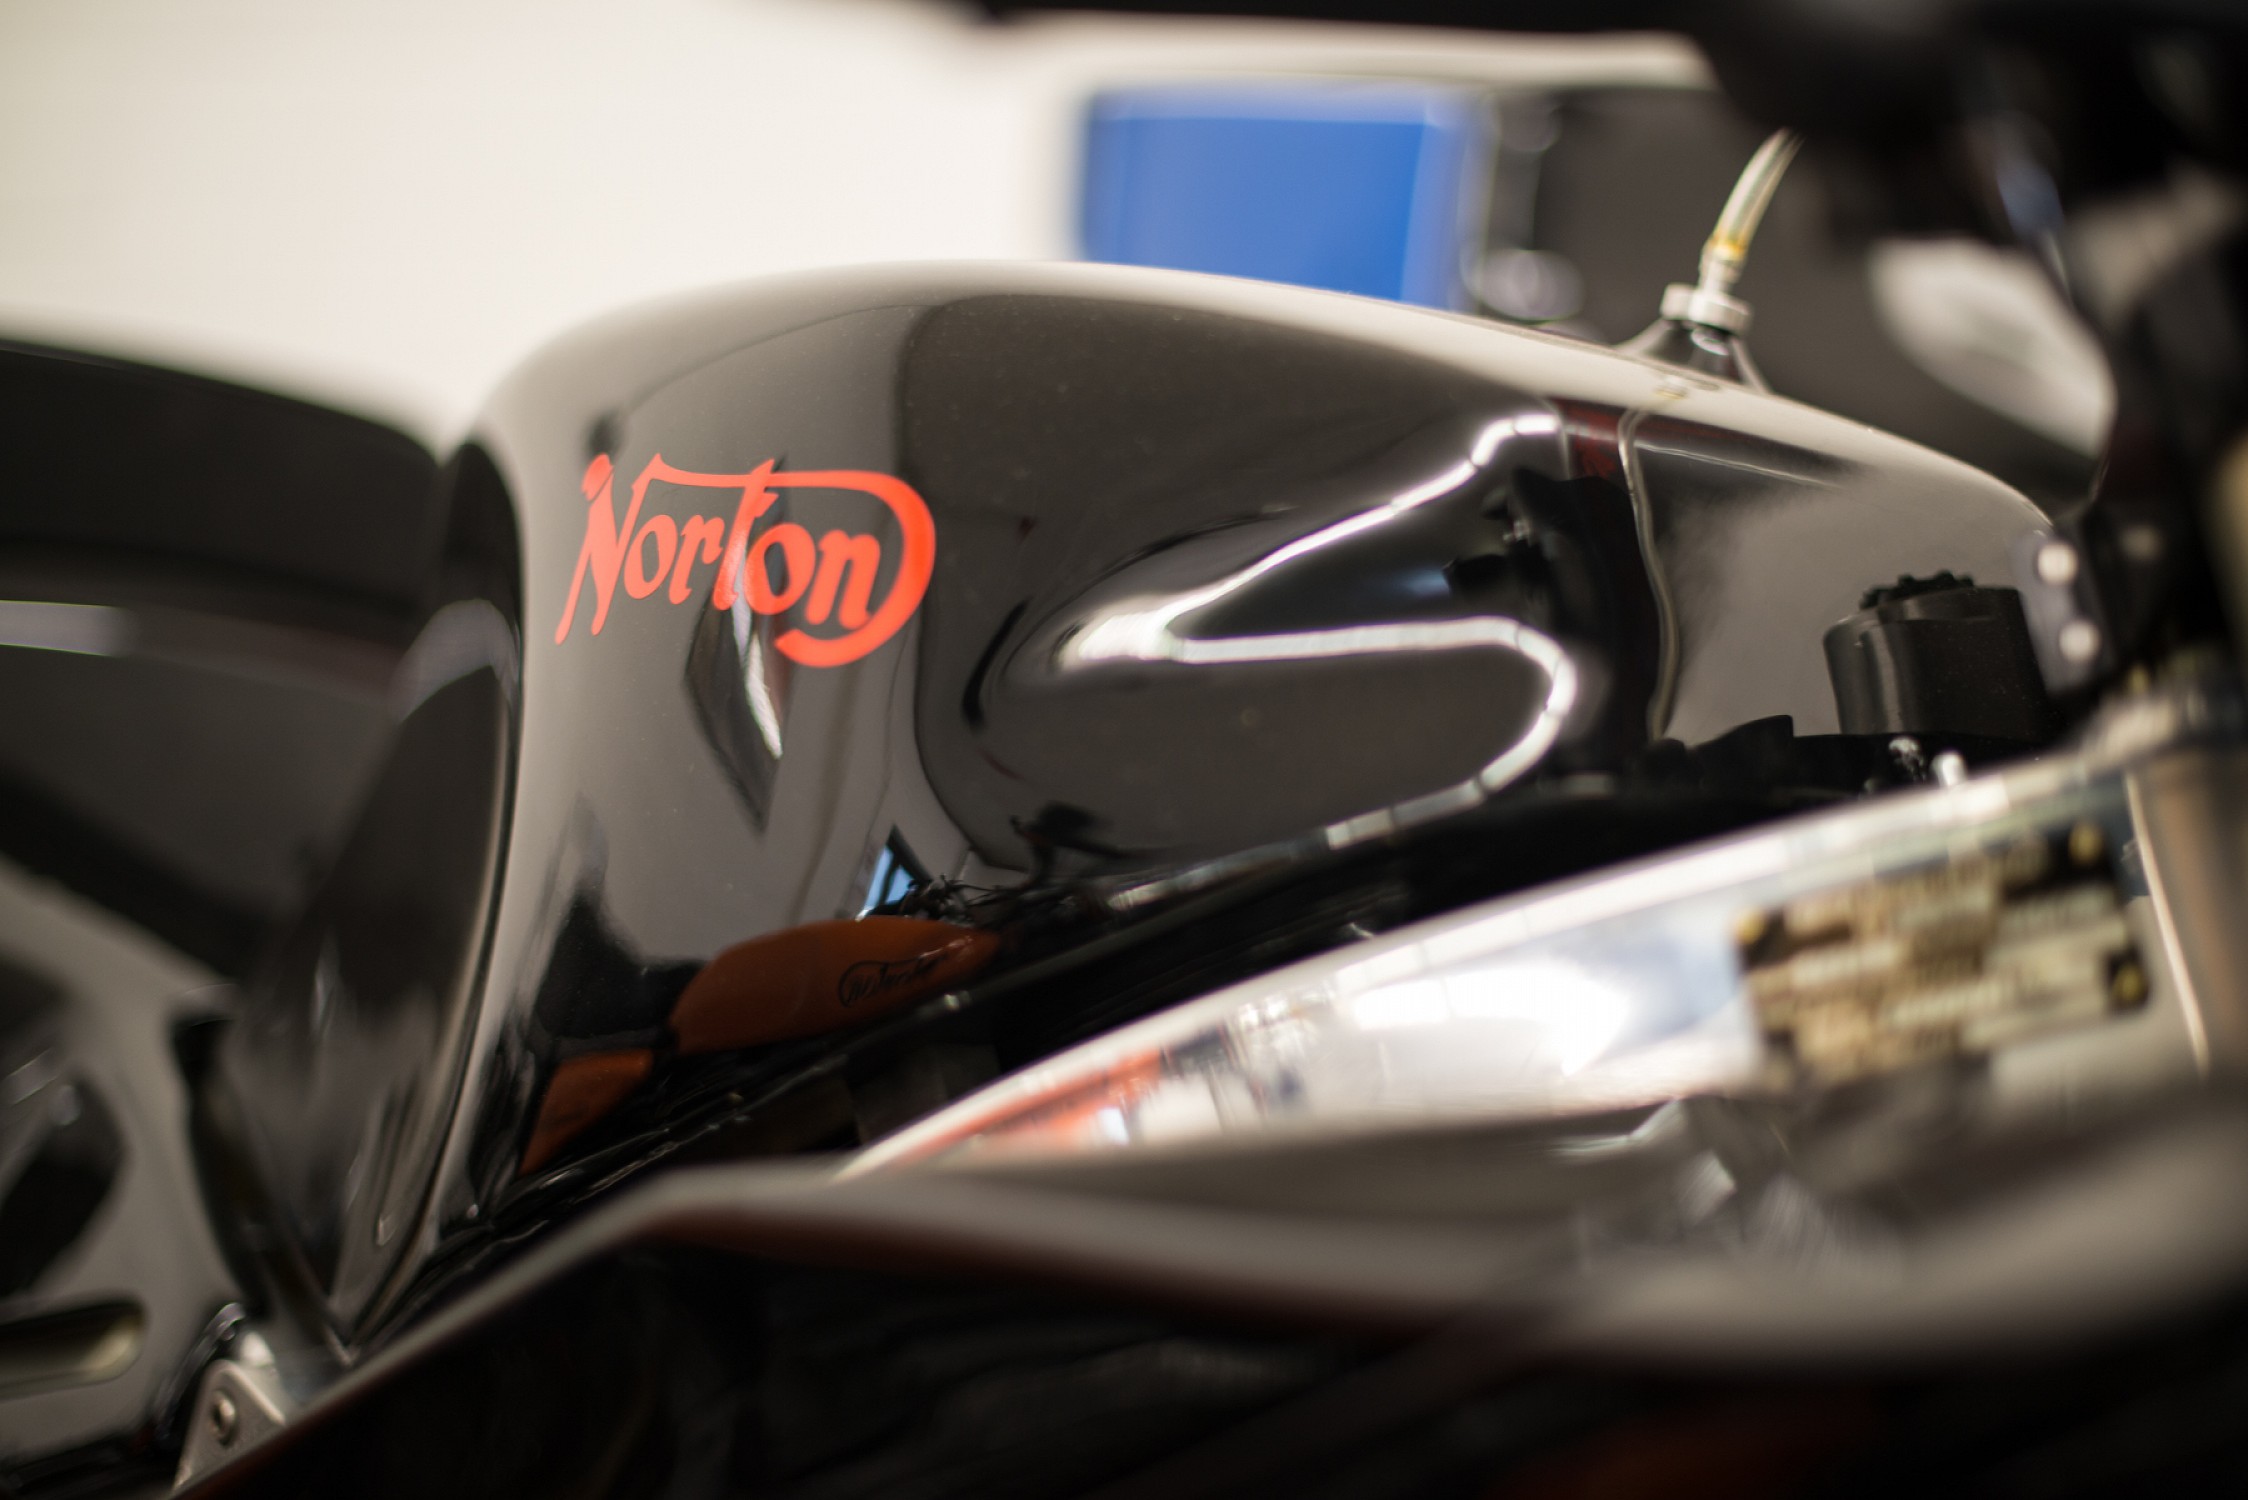
Still playing around with the stack height was very fierce with the lower height so ended up trying the way it was 3 thinner and 2 thicker plates which worked nice with the new correct length adjuster on the clutch, going to try a combination with 4 thinner and 1 thick friction plate just out of interest.

Norton Villiers Commando 1968 Re commissioning an adventures at 30

Norton Villiers Commando 1968 Re commissioning an adventures at 30

Norton Villiers Commando 1968 Re commissioning an adventures at 30
 
Where's everyone getting metal cable nipples from the Nipple sleeve isn't fitting well into the lever (thinking that's a Venhill cable had that on the 650ss and changed the cable) so thinking the best way will be to take the small nipple off and put a new one on.

If it's the type with the nylon sleeve around the nipple then it's the cable for the later alloy levers.
The (low bar) sheet metal lever cable is 06.0930 (but with a solid nipple).
 
Last edited:
Hi Lab yep I ordered 06.0930 early 45" was in that packaging was surprised when I saw the nylon sleeve cable nipple on it and it didn't work, quick look at my 650ss and I've got a metal nipple on that.

As the cable length is the early size but wrong nipple so something must have gone wrong when the cables were made just a pain being on top of Xmas. Things happen though but least the finishing line to getting her running is in sight.

Thinking I'll try the original cable from my higher bars and see if I can get a usable clutch action and send this one back for Andover to sort, popped the lads an email.
 
Last edited:
Bit of an update the cable and levers went back yesterday for a refund that hit today so cheers to the lads for that as I can now go an source some others promptly, was 06.0930 that I had but they are running the plastic sleeve nipple now on them, which the sheet metal levers were damaging just in the garage, so AN took them back the levers went back as the clutch one was rocking quite badly on the new 68 bars when pulling the clutch in and they were tightened up the casting wasn't great on them so long term didn't want to risk it snapping something + I wasn't mad long term on the mirror holes + the incorrect adjusters as the one thing you are staring at the most is the bars when riding. Used that nipple type on alloy levers but had issues in the past with the plastic type on the 650ss so was a no go good ol metal one is still going strong.

They looked like post 1970 T120 Levers, looks like the aftermarket makers do another type which is similar to the ones on my 650ss which are much closer to the originals but still the wrong adjusters but least they look more correct. Just seeing what I can turn up at the mo.

Currently in the process of sourcing a different set of sheet metal levers and a cable with metal nipple :)

On a lighter note I managed to paint the tail unit today gone for the brooklands green doesn't look to bad I'll take a few pictures tomorrow it'll need colour sanding but it seems a nice colour in the shade and when the sun hits it bs226 was totally incorrect.

Tomorrow's job is to do some prep work on the indian tank de rust the inside of it and get it ready for paint edging closer every day to it running now.
 
Last edited:
Bit or progress :) bearing in mind these are pre colour sanding hence the peel it's not right unfortunately but it's not to bad a shade to be going on with This is Rover Brooklands green, comparison crops are against the top of Jimbos original Gel coat tank that he posted in the other thread

Norton Villiers Commando 1968 Re commissioning an adventures at 30

Norton Villiers Commando 1968 Re commissioning an adventures at 30
Good colour choice I reckon 👍
 
Thanks Baz :)

The Jag one was almost black
Gn29 was far far to blue and dark
226 was almost a lime green when the sun hit it.

So think this is a half way compromise for now when I've got my own place ill get a propper spray setup and mix a colour myself :) Big thanks to @jimbo for sharing his tank picture. Should look good once its colour sanded in a few weeks.

Tomorrow's job is to deal with the indian petrol tank so I can paint it next week, few issues I need to address on it before I paint it.
I'd check everything on the Indian tank before you paint it
Have you had the filler cap fitted to it yet?
Make sure it fits properly
Check it for leaks , make sure the tap bosses are in the right place
And the ears of the seat fit the tank
Also check the tank/yoke clearance at full lock
And if it clears the head steady etc
I'm sure you know all of this btw
But Just incase you don't
 
Any tips are always appreciated Baz I've learnt you never ever stop learning :)

I'll double check it on full lock in the morning thing I havnt done, the cap fitted well one of the taps is at an angle but still clears the frame luckily. I Need to pick some stuff up in the morning to sort the rust out inside probs white vinegar or evaporust :) not used evaporust before.

Gonna sort the rust inside and hopefully thatl show up any leaks then a dunk in the bath hoping to get onto painting it next week.
Citric acid crystals mixed with water works remarkably well
 
Back
Top