here's your list...
modification list:
add directionals- not required on motorcycles in 1970 but it helps other motorists see your intended path *good option
keegler swing arm modification- My bike had very sloppy handling because of the poor design of the early swingarm tube *essential modification
swing arm oil feed tube- I added it to allow lube to drain into the swingarm. It makes a mess *not necessary, I've removed it
swap 19 for 21 tooth sprocket- 19 is too small. A 21 sprocket is about right for road riding *essential mod
add extra clutch plate- adjusting the clutch stack height lightens the lever pressure so normal humans can squeeze the clutch lever *essential mod
breather modification- Absolutely required. You can use either a Jim schmidt crankshaft breather mount or do a timing plate mount. (I have BOTH working together) It keeps your bike from being leaky. *essential modification
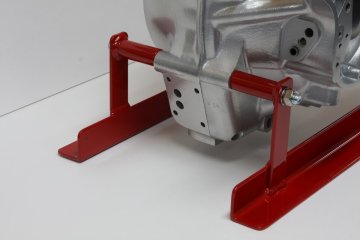
superblend crank bearings- '70 bikes have one ball and one roller bearing. They should be replaced with superblends. you should also pull the timed camshaft breather discs and plan to replace them with a reed breather. *essential modification
yamabond crankcase assembly- Using a good crankcase sealer on reassembly is smart. there are many available now. *good option
sleeved amals- Sleeving the old carbs kept them from gauling and freezing up. *good option once your carbs are worn
ammeter headlight mount- I like a guage *good option
new adjustable isolastics- The old shim style adjusters work, but have to be disassembled to readjust, the new style is easier to use *good mod
Early head steady >>box head steady >> to rose joint headsteady- The original headsteady WILL crack and break from vibration. The box style transmits a lot of engine vibration to the frame. The rose joint headsteady is a better choice than the other 2.
koni shocks- Just an upgrade with adjustable damping and preload. *good mod
points>>boyer ignition>> digital boyer- Points suck, get a digital ignition and call it good for decades *essential mod
dual lead 3 ohm dyna coil- increases spark quality '70 model has 12 volt coils in parallel which is the worst ignition set up. ditch it! *good mod
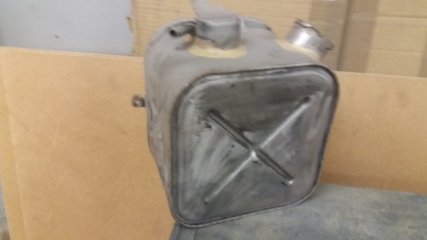
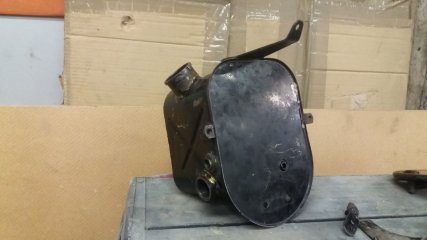
fibre glass >>steel gas tank- Glass tanks suck, get a metal tank. *essential mod
new dynodave clutchrod oil seal- smart little inexpensive part that keeps gearbox oil off your clutch plates *essential mod
new venhill nylon lined clutch cable- lightens the clutch pull on your lever *essential mod
replace non cush drive hub with later model cush drive hub- *good mod
Wider lightweight rims for modern tires- If you're buying new tires, then that is the time to consider changing rim sizes too. It can lighten your unsprung weight and put more surface area rubber on the road too. *good mod
Front wheel drum brake to disc swap- the disk is better, but obviously it's expensive to do. *good mod
add the oil filter and related plumbing- I've never done it, but it seems like a good idea *good mod
braided steel oil line to the head- good mod
Some of these modifications require some addtional reading to see all the options. Certainly, I am just one very opinionated data point, and it may be wise to seek other people's opinions. There may be other modifications that I missed (I'm forgetful sometimes) Maybe others will chime in on those.