Charlotte
FULL MEMBER
- Joined
- Jul 2015
- Messages
- 130
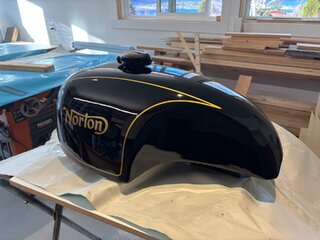
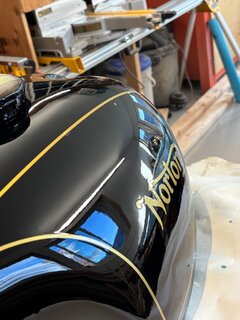
Then when that was done, carefully clean the surface again , trying not to hit the stripes with the de greaser.
Then a light coat of 2K clear coat. This is supposedly helpful in helping the decals not to peal up from the clear coat.
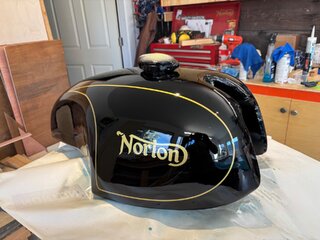
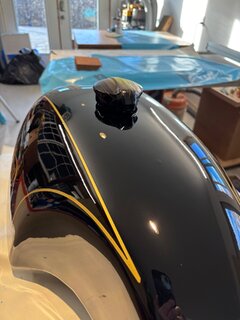
2 lighter coats of clear with 10-15 minutes between coats.
Then 4 coats of heavier clear. Keep in mind , this is from a rattle can so the coats wouldn’t be as thick as from a gun. I’ve been told its approx 3 coats of rattle can is equal to 1 coat from a professional type paint gun.
Then a light coat of 2K clear coat. This is supposedly helpful in helping the decals not to peal up from the clear coat.
2 lighter coats of clear with 10-15 minutes between coats.
Then 4 coats of heavier clear. Keep in mind , this is from a rattle can so the coats wouldn’t be as thick as from a gun. I’ve been told its approx 3 coats of rattle can is equal to 1 coat from a professional type paint gun.