TW wrecks a perfectly good Commando etc.

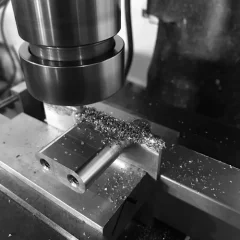
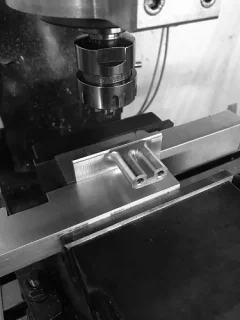
Five pieces with central taper, purge welded.
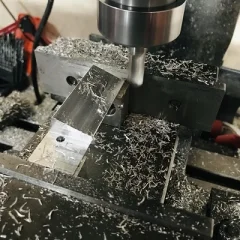
Not as much fun as mill whittling but less mess to clean up.

TW wrecks a perfectly good Commando etc.
 
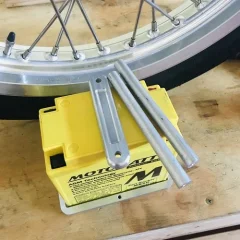
Today is buy a new battery, a MotoBatt MB9U. ($124)

I have that brand in the Moto Guzzi ($250) and will do the same in regards to the terminals and make another pair of brass terminal blocks with multiple take offs.
The Smart Fire ignition and cylinder head will be directly earthed to the battery.

bt8.jpg


I would have liked to use a relay to power the ignition coil directly from the battery (its actuation from the ignition switch ) but not sure that would work or be a good idea on this $500+ Pazon system.
It was was a viable modification on the TL1000 but its ECU triggers the coils via the earth.
 
I emailed Pazon asking how close the Smart Fire control box can be to the PVL coil.
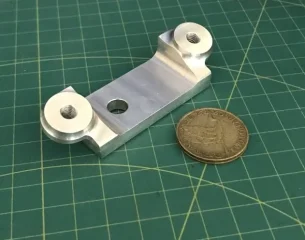
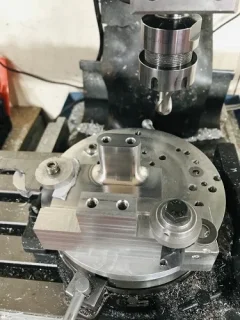
This holder attaches to the top of the coil mount with two O - rings to hold the ignition box.
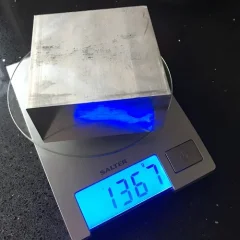
114 grams @ $1.75 material + labour $400 - DIY discount = $1.75
x.jpg h.jpg 33.jpg 55.jpg

Edit.
Andy @ Pazon replied saying mounting the control box above the coil will be fine, that mount should only be a one day job and stack off the coil mount.
 
Last edited:
Action shot :)
I doubt there will be another like it and down to 106 grams.

TW wrecks a perfectly good Commando etc.


Its a sunny day and to good to not be out and about.
 
Besides some M3 x 8 mm dome head cap screws I will call it done.

TW wrecks a perfectly good Commando etc.
 
Another win, I stopped off at HEL Performance and they made a braided line for the oil pressure gauge while I was there which is not standard practice.
It must be my charming persona. :)

Next is finish the rollerised throttle gantry.
 
One slip of the cutter and it could be.

If anyone wanted to know, the MotoBatt case is not very 'square off the base.

TW wrecks a perfectly good Commando etc.
 
Last edited:
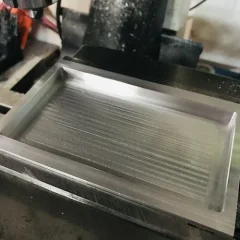
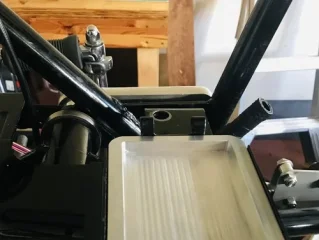
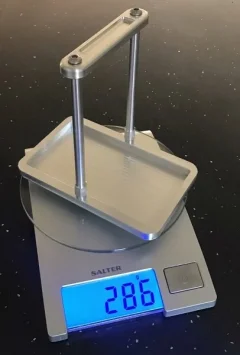
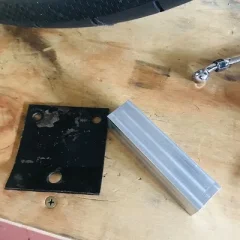
The tray is only a few dollars material cost, it might vibrate to pieces being an unknown at this stage.

A good excuse to ride down to the city in the morning for some long stainless grub screws for the top and bottom studs.

Norton service tool for scale.
TW wrecks a perfectly good Commando etc. TW wrecks a perfectly good Commando etc.
 
The tray is only a few dollars material cost, it might vibrate to pieces being an unknown at this stage.

A good excuse to ride down to the city in the morning for some long stainless grub screws for the top and bottom studs.

Norton service tool for scale.
View attachment 84943 View attachment 84944
Only pulling your leg. Having to dig deep to find something to dig at. Mainly motivated by envy !

Nice Stilson wrench BTW (that’s more my level and mine are MUCH bigger than those!)…
 
Last edited:
Back in the 1990's I came back to find my RIDGID (USA) stilsons missing after lunch so priced a new pair at $200.
I ended up getting that Fuller (Japan) set at cost for $15, hoping they would last OK which they did and in two countries.

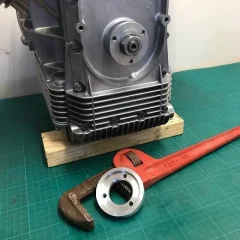
The alloy cap bolted to the pulley mount, the stilsons gripped the cap OD, torque the nut to 105 ft/lbs.
There are days to over complicate things and days to just get it done.

Thanks Fuller.

TW wrecks a perfectly good Commando etc.

Good enough for now and just need the attachment holes and top and bottom padding added.
Material cost maybe $8.

TW wrecks a perfectly good Commando etc.
 
Now that has got to be THE poshest battery tray ever! I do like it. Surprised you didn’t mill some big holes in the bottom tho to save a few more grams ?

I couldn’t afford Rigid stilsons, though I did have some Rigid stuff. Mine were Record, made in England, lasted forever but weighed a ton !
 
Holes in the base are a possibility but later on, I am looking for a home for the PODtronics and new flasher unit now.
The Blue can can go as will the Warning Light Assimilator. (I have a Charge monitor kit from the UK but forget which one brand wise)
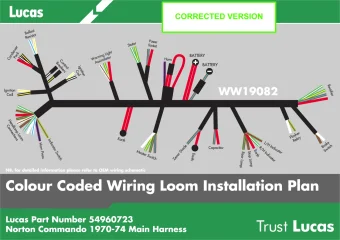
I have a new loom and printed a Grant Tiller diagram which doesn't really make much sense at this stage as there will be redundant wires so will unwrap it and go from there.

It really needs relays for the horn and lights (imho) which I felt very confident typing, reality will be something else not knowing what I am doing. (I have a spare Eastern Beaver headlight relay kit but not sure it would work on a positive earth Commando)
The Africa Twin has one of their twin power take offs (Dash USB) which I managed to fit without causing a fire.


TW wrecks a perfectly good Commando etc.
 
Last edited:
I have a new loom and printed a Grant Tiller diagram which doesn't really make much sense at this stage as there will be redundant wires so will unwrap it and go from there.

It really needs relays for the horn and lights (imho) which I felt very confident typing, reality will be something else not knowing what I am doing. (I have a spare Eastern Beaver headlight relay kit but not sure it would work on a positive earth Commando)
Send Grant a PM on FB. He will happily make you a diagram for your desires. Point him st this thread.
 
Send Grant a PM on FB. He will happily make you a diagram for your desires. Point him st this thread.

Grants diagrams are fine (I have the stock one and one with POdtonics and Pazon (not a Smart Fire though)

I unwrapped the loom and will remove what I think is unwanted including adding an ignition switch that is On and Off only.
 
Last edited:
Send Grant a PM on FB. He will happily make you a diagram for your desires. Point him st this thread.

I am not on FB anymore as of last year. (and removed myself from the FB Commando forums)

I think this drawing of Grants is the best one for the novice electrical like myself. (perhaps out of lack of interest more than anything)
There are quite a few wires to be removed and will make an attempt at adding those relays (horn / high-low beam) along with a blade main fuse.

TW wrecks a perfectly good Commando etc.

I might go and add that pic to an older post in the main forum.
 
I think my next project will be some form of chopper ish bike.

I googled what the other kids were doing to mount the PODtronics and went with the Richard Tool version.

$2 material + $240 labour.

brk1.jpg brk2.jpg
 
Back
Top