Knucles
MEMBER
- Joined
- Aug 2020
- Messages
- 211
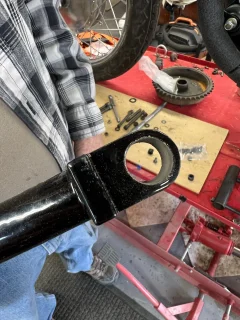
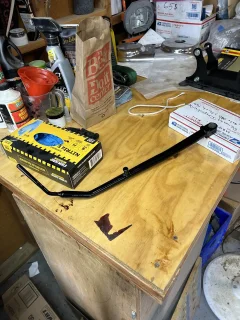
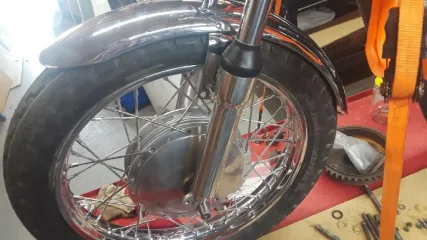
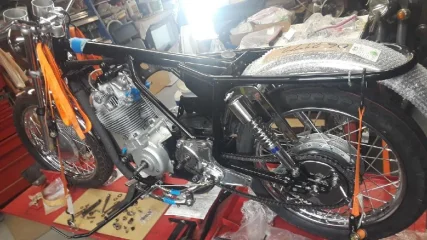
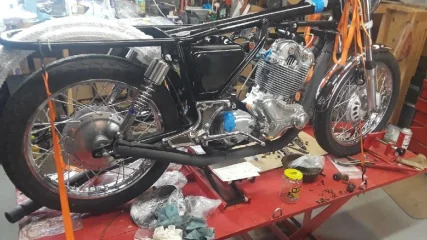
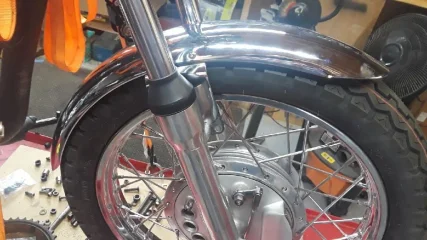
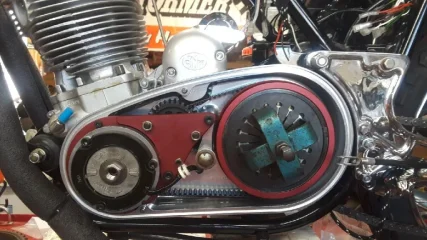
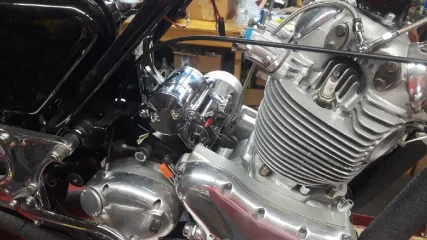
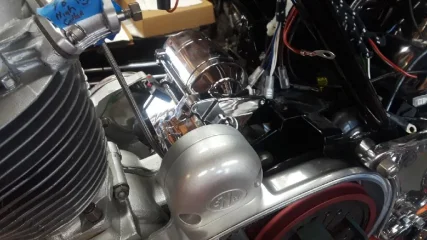
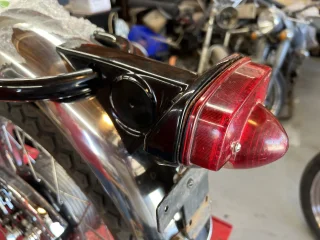
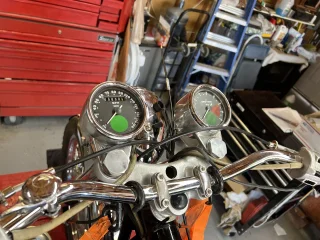
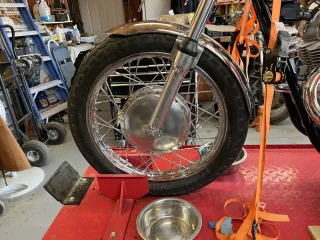
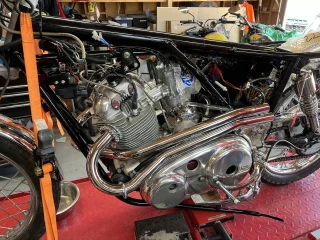
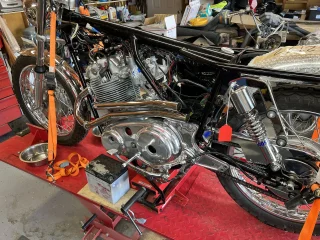
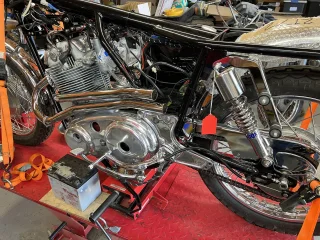
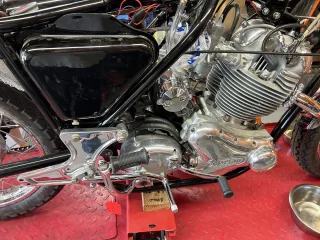
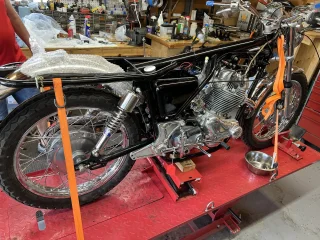
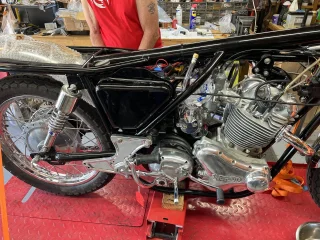
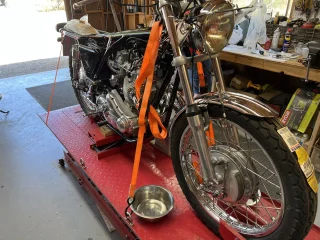
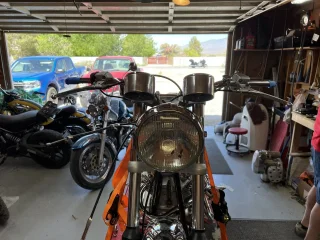
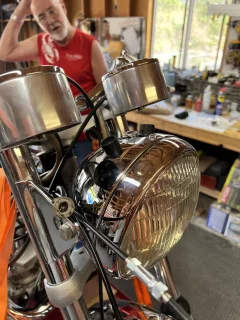
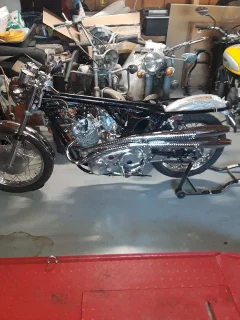
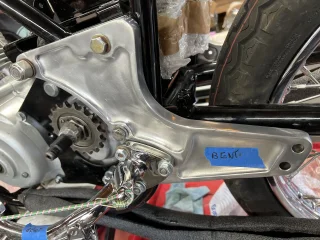
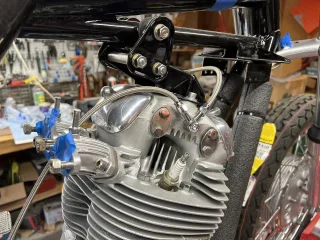
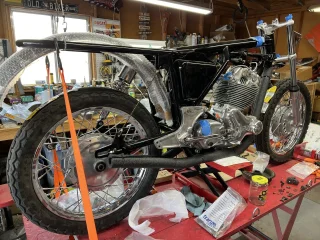
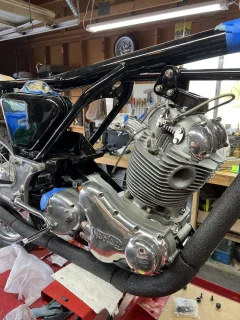
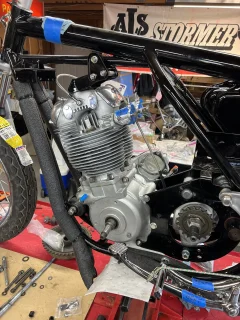
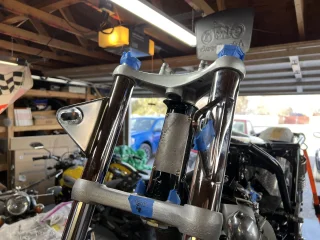
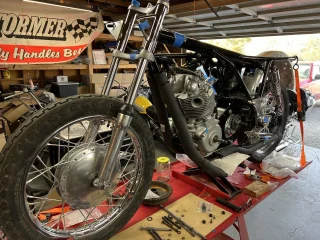
Update on assembly
still need small parts on order
still need small parts on order
Attachments
-
 ADC5CC6F-B0A8-4CA3-8074-F0827BFFFB1A.webp291.8 KB · Views: 479
 -
 A3FA5DB4-8914-4F96-A557-04F2E27E2E7B.webp347.5 KB · Views: 488
 -
 A6BFA1E1-4F0B-41EC-A697-32AAC0FB3DEE.webp427.3 KB · Views: 459
 -
 5A9EE7B8-A917-498A-B4C8-A1B77F725A9D.webp370.9 KB · Views: 504
 -
 0995D6BD-F619-4CF9-ADCB-6F78D9CD05C3.webp394.6 KB · Views: 454
 -
 2D172C1A-2FE5-40F1-A796-19A7E067C7E9.webp231.8 KB · Views: 444
 -
 CF77407F-7153-4E41-9806-957C051794E7.webp410.4 KB · Views: 483