Norton 961 Domi Tail Section Removal Guide
Download the complete PDF version using the green download button at the top right of this page for Richard Coote’s illustrated Norton 961 Domi tail section removal guide. This reference shows how to remove the carbon-fibre seat and tail assembly to gain access to the electronics area beneath it, which may be needed when reaching the programming plug, checking fuses or carrying out related service work on the Domi model.
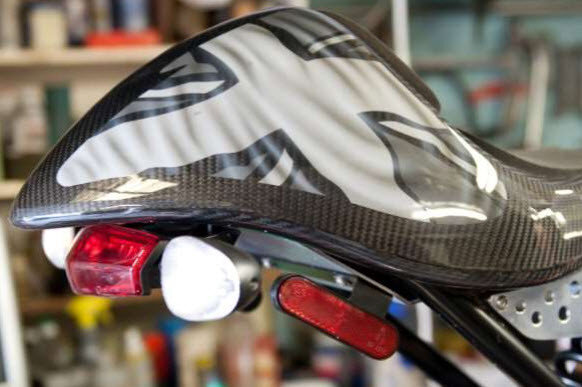
The guide begins with access through the fuel tank strap bolt opening, then shows how to remove the rear light mounting bolts and carefully free the tail light assembly. It also identifies the plastic fasteners and plugs that must be removed before accessing the seat retaining nuts from underneath the tail section.
Later pages show how the complete seat and tail section lifts away from the motorcycle, followed by photographs of the underside of the removed assembly and the electrical components exposed beneath it. The guide highlights the programming plug location and includes a useful note suggesting dense sponge near the fuse area to help prevent vibration-related fuse movement.
Contents Include
- Norton 961 Domi tail section removal
- Access to the tank strap bolt opening
- Tail light removal and fastener locations
- Plastic screw and plug removal points
- Seat retaining nut access beneath the tail
- Lifting the complete tail section from the bike
- Underside views of the removed seat assembly
- Electronics area exposed beneath the tail section
- Programming plug location
- Fuse vibration prevention note