Norton 961 Instrument Cluster Removal & Installation Guide
961 Norton - Cluster - Created by Richard Coote (many thanks Richard).
Download the complete PDF version using the green download button at the top right of this page for full step-by-step cluster removal and installation instructions.
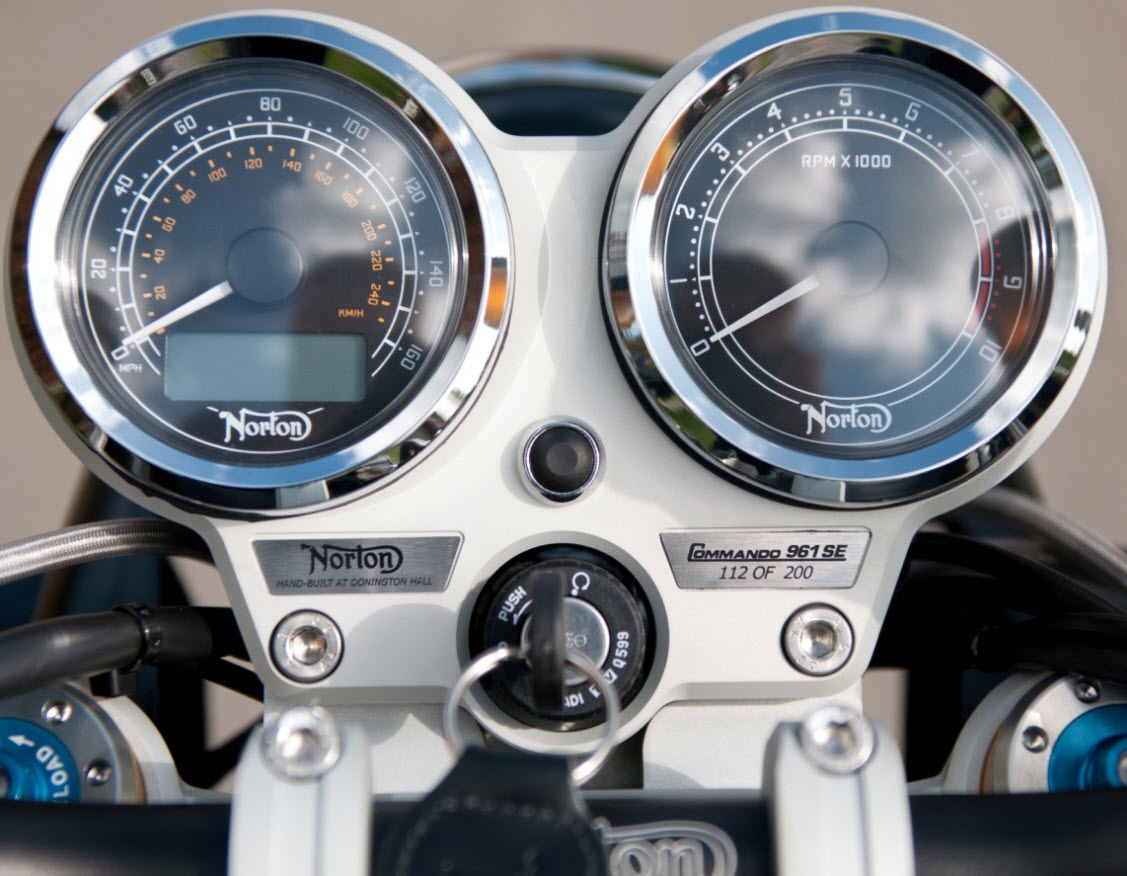
This detailed workshop guide covers removal and re-installation of the instrument cluster assembly on the Norton Commando 961.
Using clear colour photographs and simple step-by-step instructions, the guide walks through removing the cluster shells, disconnecting the wiring, handling the rubber gaskets and correctly re-installing the instrument assembly.
Additional information is also included covering how to change the display clock format from 24-hour to 12-hour mode using the selector button menu system.
Contents Include
- Instrument cluster removal procedure
- Cluster shell and mounting hardware removal
- Rubber gasket removal and installation
- Ground wire identification
- Correct cluster re-installation procedure
- Step-by-step colour workshop photographs
- Changing display clock from 24hr to 12hr mode
- Selector button menu instructions
- Norton 961 dashboard and display setup information
- Workshop tips for easier access and assembly
Several detailed workshop photographs are included throughout the guide, making it easier to safely remove and re-install the Norton 961 instrument cluster assembly without damaging the mounting hardware or wiring.
Covered Norton Models
- Norton Commando 961
- Norton Commando 961 SE
- Norton Commando 961 Sport
- Norton Commando 961 Cafe Racer
A useful workshop reference for Norton 961 owners performing maintenance, repairs or instrument cluster servicing.