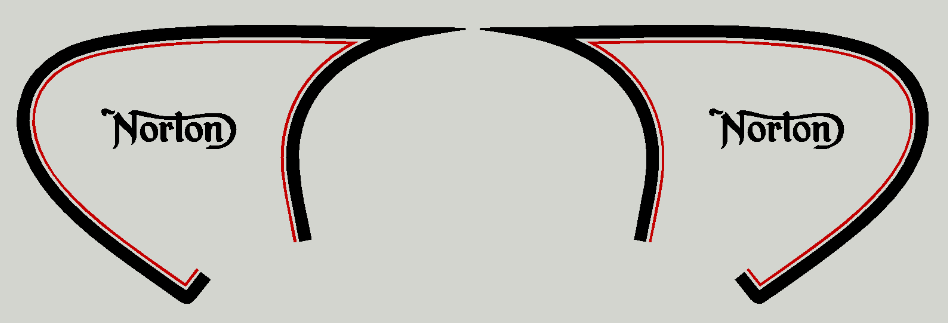
Hey - went for the OEM look but smaller so not round my knees. No colour in the centre section to expose most of the tank. Might change in the future but I'm on a tight timeline.
Any tips are very welcome!
Hey Kev,
I fitted the single narrow pinstripe version - same style though. I take it you got them from The Image Works? Yours may be a bit more involved - wide enough in the striping to develop bubbles if not careful/patiant.
My advice, ring the guys before you start as it states in their guide and ask for the best technique - their online guide to fitting does not cover pinstripe type decals.
- sticker fitting guide.
The decals arrive on flat backing sheet however, I could see no means of applying them directly because of the curvature of the tank and obviously the ends need to be manipulated into place to form the finished decal. I did the following.
- cut out the pinstripe sections, leaving a 10mm border around the periphery (maybe a bit less for yours)
- clean the tank (decal area) thoroughly with isopropyl alchohol - it dries almost instantly.
- manipulate the pin-striping into position, lightly securing with short strips of painters tape as you go. Needs to be positioned exactly, so manipulate until spot on.
- start at a free end, remove any painters tape at that end, lift the decal and peel back the inner protective layer for 6-8” and snip off.
- work backwards towards the end and carefully apply to the tank. I used finger pressure only, you may need a flexible applicator or credit card to avoid bubbles.
- repeat with each length, working forward now as you apply. Take care not to move from the original position or the ends may not match up. You can carefully re-lift short sections from the tank if necessary, to start applying the next.
- I left a short overlap on the single pinstripe which is not really visible. You will likely need to butt the ends up. Cut exactly and apply, or overlap ends and use a new scalpel blade to cut in position. Ask the guys for the best technique.
- apply the Norton logo after the pinstriping is fitted, to make sure it’s in the right spot.
I put painters tape down the top centre line of the tank to aid measurement - to get the two sides positioned the same. Don’t expect fitting to be exact - the hand built tank is not regular in shape.
Do this before you start drinking and remove any objects that you might throw should you be disturbed at just the wrong moment - ask me how I know!

Good luck and let us know what the guys at Image Works say.


